Most people don't realize that creating a tapestry can be both an art form and a meditative practice. You might think it's complex, but with just a few simple steps, you can craft a piece that reflects your unique style. First, you need to gather the right materials, and then you'll discover how choosing a design can set the tone for your work. As you prepare the framework and learn the weaving techniques, you'll find it all coming together beautifully. Ready to explore how to turn your vision into a tangible creation?
Key Elements
- Gather durable materials like cotton or linen, along with fibers, tools, and decorative elements for your tapestry project.
- Choose a design that reflects your style and create a mood board for inspiration.
- Prepare the loom by setting up warp threads for strength, ensuring proper tension.
- Weave your tapestry using chosen yarns, maintaining even tension and experimenting with stitches for texture.
- Display your finished tapestry creatively, integrating it into your decor or framing it for a gallery look.
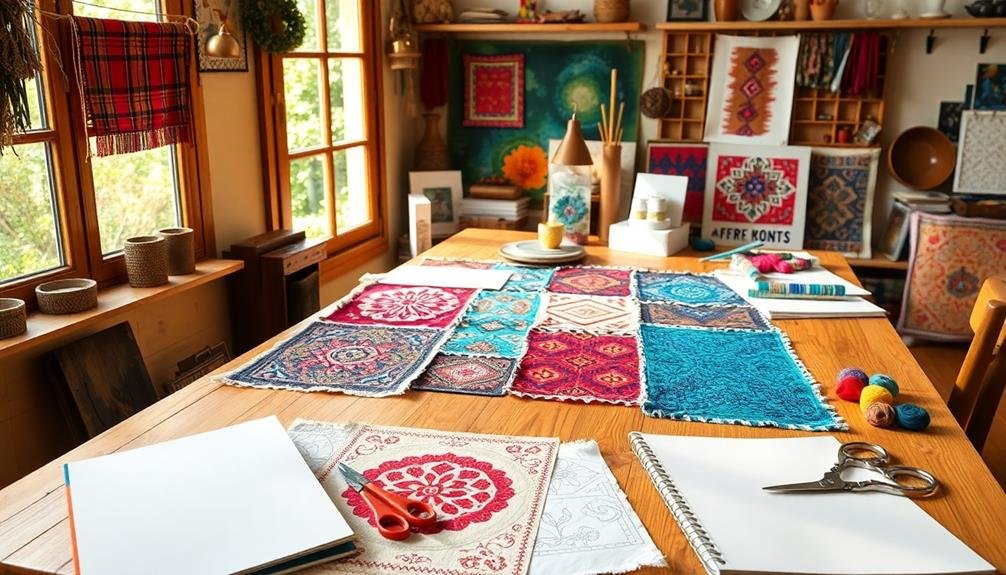
Gather Your Materials
To kick off your DIY tapestry project, you'll need to gather your materials. Start with a sturdy fabric as your base; cotton or linen works wonderfully, providing a canvas that's both durable and versatile. Choose a size that fits your intended space, whether it's a cozy corner of your room or a bold statement on a larger wall.
Next, you'll want to select your fibers; consider a variety of yarns, threads, or even ribbons in colors and textures that resonate with your personal style, fostering a sense of connection with your environment.
Don't forget about the tools; a weaving loom will make your life easier, but you can also use a simple frame or even your hands if you're feeling adventurous. Scissors, a needle, and a ruler are essential for precision, ensuring your tapestry comes together seamlessly.
Finally, gather any decorative elements you might wish to incorporate, such as beads, feathers, or embroidery floss, which can add depth and personality to your work.
With these materials in hand, you're set to begin a creative journey that not only reflects your individuality but also invites a sense of belonging into your space.
Choose a Design
Choosing a design for your tapestry is an essential step that sets the tone for your entire project. The design you select should reflect your personal style while also considering the space it will inhabit. Think about themes that resonate with you, whether it's nature, abstract patterns, or cultural symbols.
Visualize how these motifs can create a sense of belonging and connection within your environment. To enhance your tapestry's cozy feel, consider incorporating warm colors and seasonal accents, which can help evoke a comforting atmosphere in your home, such as those found in textiles and comfort.
Consider creating a mood board, combining images, colors, and textures that inspire you. This visual collection can guide your design process, helping you articulate your vision more clearly.
You might also explore color theory; harmonious color combinations can evoke emotions and enhance the overall atmosphere of your tapestry. If you're unsure, look at popular trends, such as bohemian, minimalistic, or vintage styles, which can provide a solid foundation for your design.
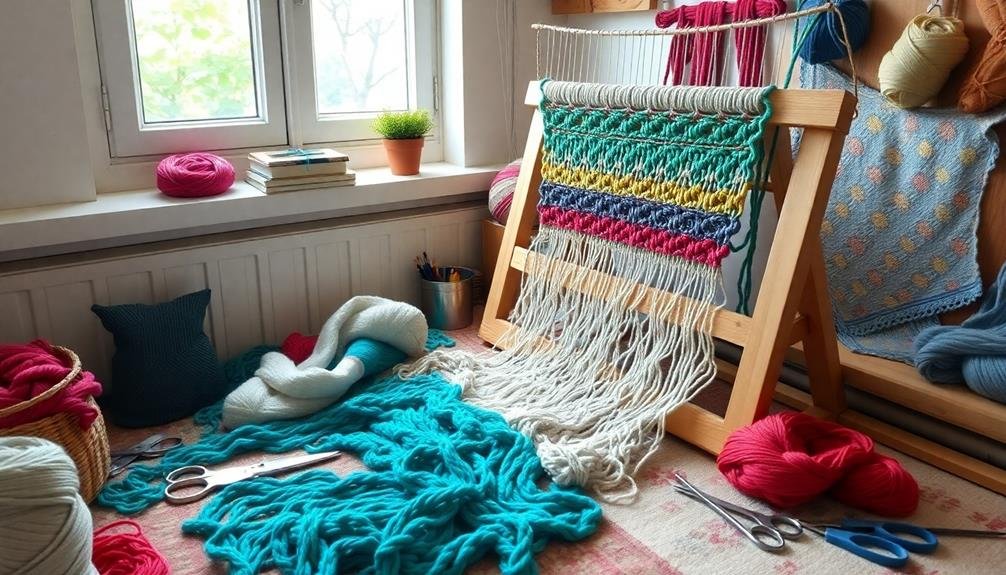
Prepare the Framework
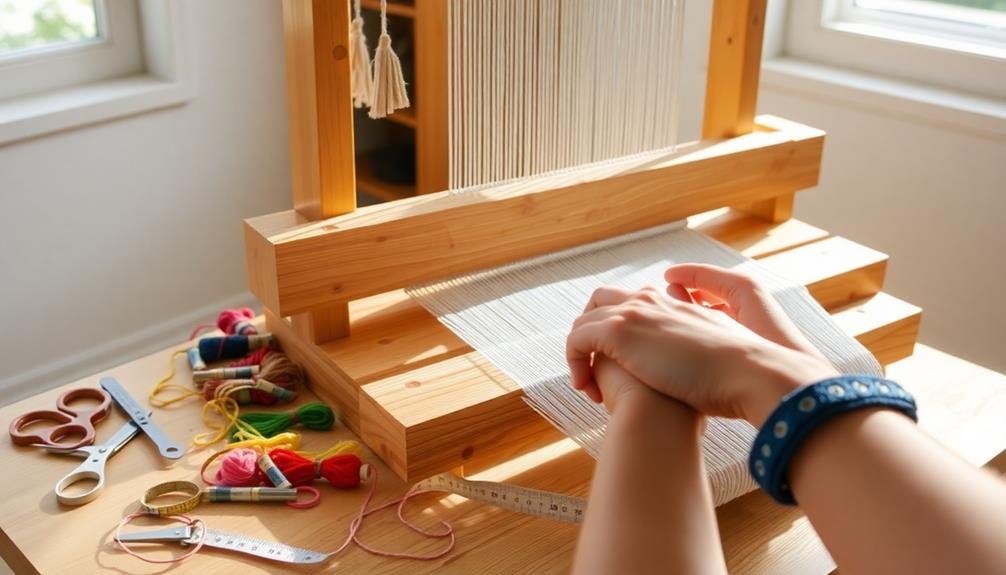
Preparing the framework for your tapestry is an essential step that guarantees your design comes to life with structure and stability. By establishing a solid foundation, you create a supportive environment for your creative expression.
Start by selecting the right materials, confirming they're durable yet flexible enough to accommodate your design. Consider these key components:
- Warp Threads: These are the vertical threads that form the backbone of your tapestry, providing strength and stability.
- Loom: This device holds your warp threads in place, allowing you to weave with ease and precision.
- Weaving Needle: A specialized needle designed for tapestry work, it helps you maneuver your weft threads seamlessly through the warp.
As you proceed, remember to tension your warp threads properly to avoid sagging, which could distort your design.
If you're using a frame loom, confirm it's securely anchored to prevent movement during the weaving process.
Taking the time to prepare your framework meticulously will guarantee that as you shift into the weaving phase, you'll have a reliable structure that supports your artistic vision, fostering a sense of belonging to the tapestry-making community.
Weave Your Tapestry
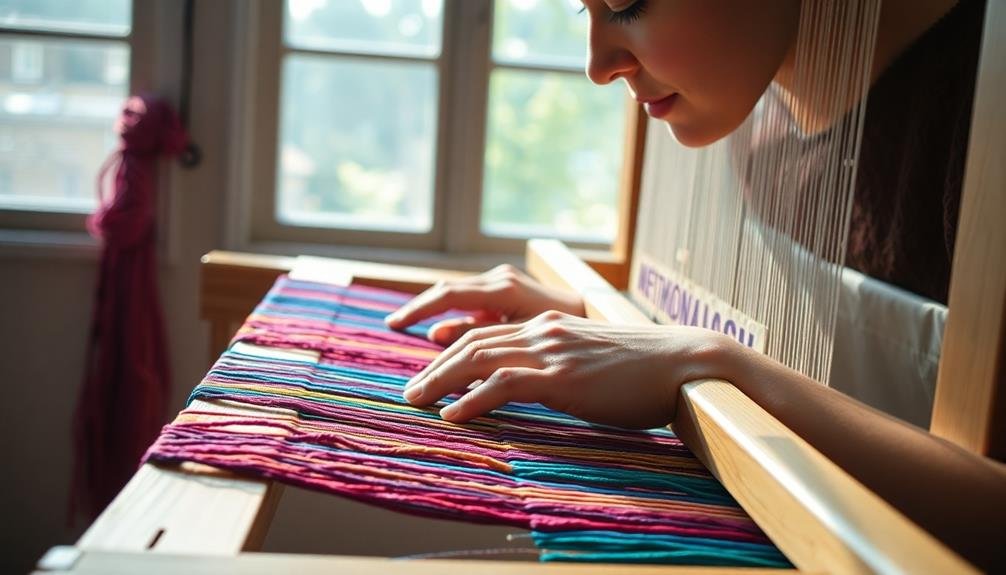
With your framework set, it's time to bring your vision to life by weaving your tapestry. Begin by selecting your yarn—consider various textures and colors that resonate with your intended design, as this selection will influence the overall aesthetic and emotional impact of your work. You might also want to think about incorporating some upcycled fabric pieces to enhance your tapestry's uniqueness.
As you thread the yarn through the warp, guarantee you're maintaining an even tension; this practice not only enhances the durability of your tapestry but also creates a polished appearance.
Start at one end of your framework and introduce your first color, weaving it in and out of the warp threads. Experiment with different stitches, such as the plain weave or twill, to add depth and dimension to your creation. You might also incorporate novelty yarns or beads for added visual interest, allowing your tapestry to reflect your unique style and personality.
As you progress, periodically step back to assess your work, confirming it aligns with your vision. This reflective practice not only fosters a sense of accomplishment but also connects you more deeply with the creative process.
Embrace this journey, as each woven thread contributes to a tapestry that tells your story and brings a sense of belonging to your space.
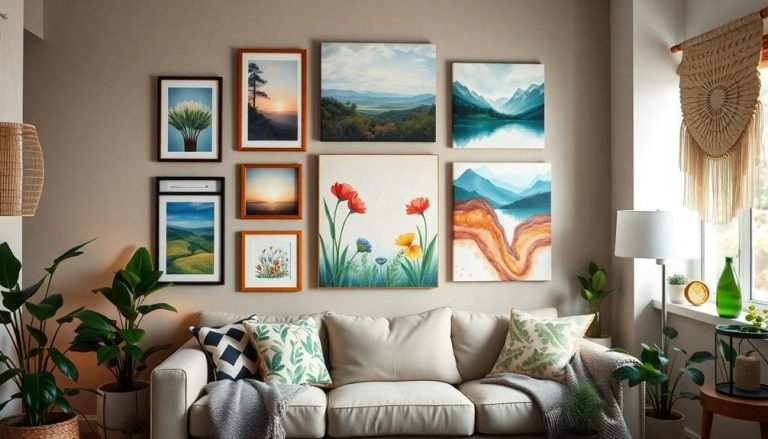
Display Your Creation
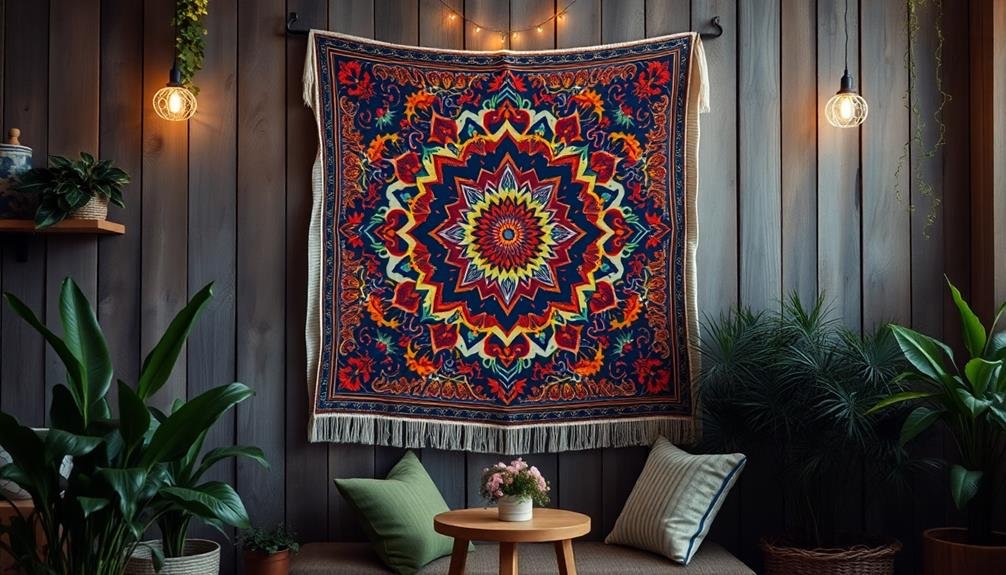
Once you've completed your tapestry, it's time to showcase your hard work and creativity. Displaying your tapestry not only honors your effort but also allows others to appreciate your unique artistic expression. Consider these options for display:
- Wall Hanging: Hang your tapestry on a prominent wall, perhaps in your living room or bedroom, where it can serve as a conversation starter and a focal point of your decor. Incorporating your tapestry alongside other seasonal decorations, like cozy textiles and throws, can enhance the warmth of your space during winter months.
- Gallery Style: Create a mini-gallery by framing multiple smaller tapestries or arranging them in a cohesive theme, effectively transforming a blank wall into an artistic exploration of your creativity.
- Seasonal Display: Rotate your tapestry with the seasons, allowing others to engage with your work throughout the year, celebrating both your artistic skills and the changing ambiance of your space.
Whichever method you choose, integrate your tapestry into your environment in a way that resonates with your personal style.
Frequently Asked Questions
Can I Use Recycled Materials for My Tapestry?
Absolutely, you can use recycled materials for your tapestry! It not only adds unique character but also reflects your creativity. Embracing eco-friendly options connects you to a community that values sustainability and artistic expression.
What Type of Loom Is Best for Beginners?
Choosing a loom's like picking a comfy chair for a long chat; you want something inviting. A simple frame loom's perfect for beginners—it's easy to use, and you'll feel right at home creating beautiful pieces.
How Do I Fix Mistakes While Weaving?
When you spot a mistake while weaving, don't panic! Simply unravel the section carefully, adjusting the tension as you go. Trust your instincts, and remember, every weaver makes mistakes—it's part of the journey!
What Is the Ideal Yarn Thickness for Tapestries?
The ideal yarn thickness for tapestries usually depends on your desired look. You'll find that medium-weight yarn works well, balancing texture and durability, while thicker yarns can create bold, vibrant designs. Choose what resonates with you!
How Can I Care for My Finished Tapestry?
To care for your finished tapestry, gently dust it regularly and avoid direct sunlight. If needed, hand wash it in cold water with mild soap, then air dry to keep it looking vibrant and cherished.
Whats Next
To sum up, by following these five steps, you can successfully craft a tapestry that not only showcases your artistic skills but also adds a unique touch to your home. For instance, a high school student named Clara transformed her bedroom by creating a vibrant tapestry depicting a serene forest scene, which not only enhanced her space but also became a conversation starter among her friends. Embrace the process, and let your creativity flourish as you weave your personal narrative into fabric.