If you're looking to refresh your windows without breaking the bank, you've come to the right place. You can transform your space with simple, budget-friendly DIY window decor ideas that not only enhance aesthetics but also reflect your personal style. Whether it's crafting upcycled fabric curtains or adding a touch of whimsy with a DIY beaded curtain, there's a solution for every taste. Curious about how to blend functionality with charm? Let's explore some creative options that can make a significant impact on your home environment.
Key Elements
- Upcycle old fabric into unique curtains by repurposing vintage sheets or worn clothes, adding a personal touch while promoting sustainability.
- Create a gallery wall using repurposed vintage frames, painting them in complementary colors and filling them with fabric or wallpaper samples for texture.
- Use stenciled designs on window panels to personalize decor; select patterns that harmonize with your home's theme for a cohesive look.
- Install DIY beaded curtains with colorful beads and durable string; customize designs to reflect personal style and complement existing room decor.
- Enhance ambiance with sheer panel curtains made from lightweight fabrics, allowing natural light to filter through while showcasing your creativity.
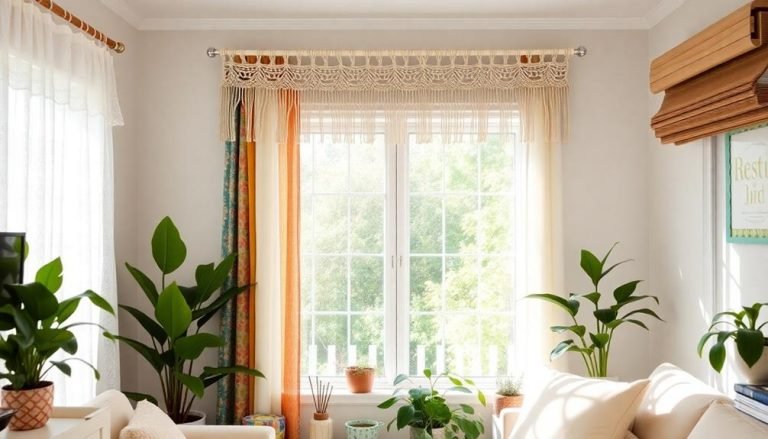
Upcycled Fabric Curtains
Upcycled fabric curtains are a fantastic way to breathe new life into old materials while adding a unique touch to your windows. By repurposing discarded textiles—like vintage sheets, worn-out clothes, or remnants from previous projects—you not only contribute to sustainability but also create a sense of belonging in your space, reflecting your personal style and values.
This approach aligns with the benefits of thrift shopping, as it allows you to find unique materials while supporting recycling efforts.
To start, gather fabric that resonates with you, whether it's a cheerful floral pattern or a subtle, muted tone. Measure your windows, ensuring you consider the desired length and width for ideal coverage and aesthetic appeal.
Next, cut the fabric to size and, if necessary, hem the edges to prevent fraying. You can use a sewing machine for a polished finish or opt for fabric glue for a quicker alternative.
Don't forget to choose curtain rods that complement the fabric; wooden or metallic options can enhance the overall design.
Painted Wooden Blinds
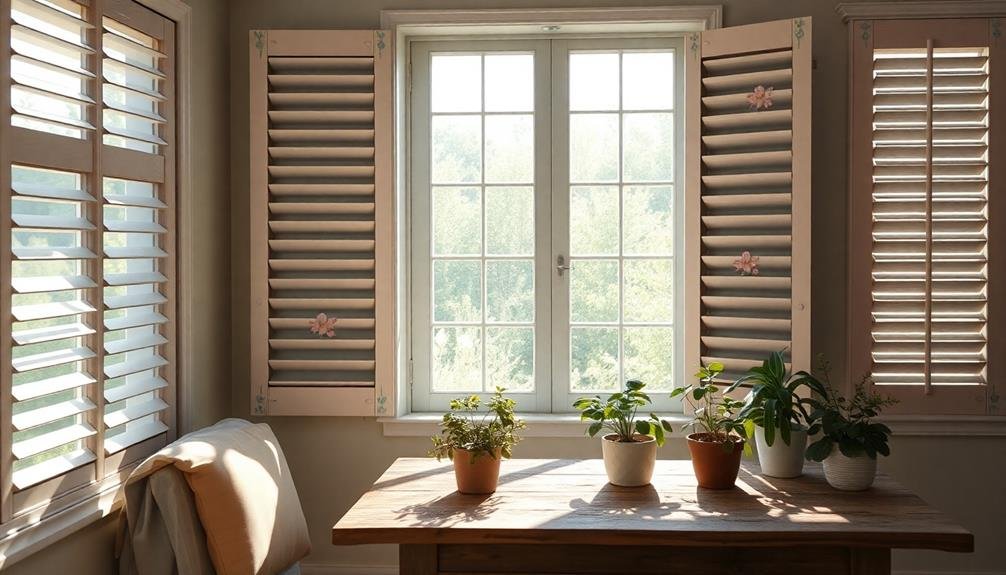
Transforming your windows with painted wooden blinds offers a delightful blend of creativity and functionality. By choosing this DIY project, you're not only enhancing your living space but also infusing it with your personal style.
This project aligns perfectly with the principles of upcycling old fabrics, allowing you to breathe new life into old items while making a bold decor statement. The process is straightforward, allowing you to select colors that complement your decor, making your home feel cohesive and inviting.
To get started, consider these essential steps:
- Choose Your Color: Select a hue that resonates with your existing decor, whether it's a bold statement color or a subtle neutral.
- Prep the Blinds: Clean and sand the blinds thoroughly to guarantee the paint adheres properly, creating a smooth finish.
- Apply the Paint: Use a high-quality paint specifically designed for wood, applying it with a brush or roller for an even coat.
Once completed, your painted wooden blinds won't only serve as a functional window treatment but also as a stunning focal point in any room.
This project is an excellent way to express your individuality while creating an inviting atmosphere that makes you feel at home, fostering a sense of belonging that everyone desires.
String Light Window Display
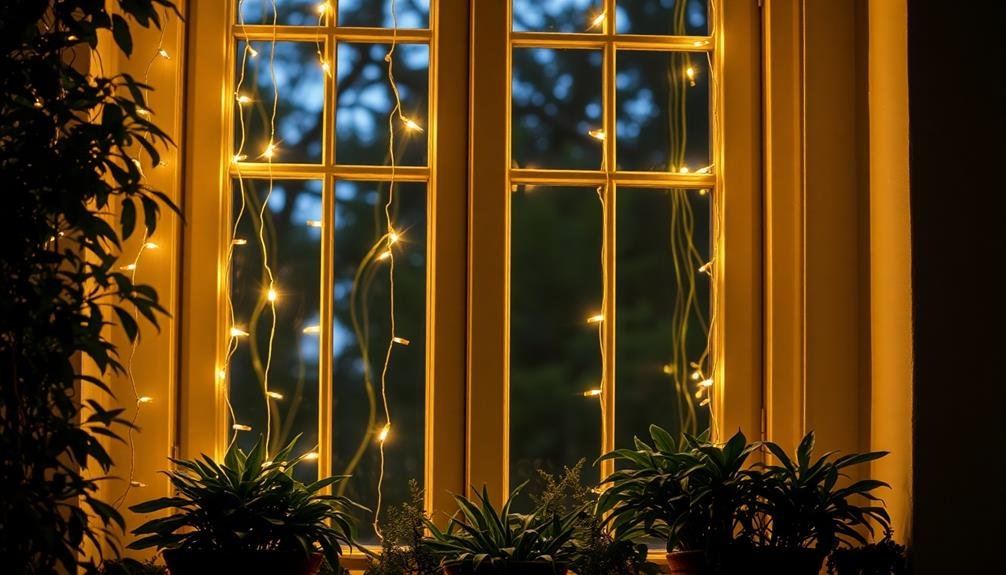
Creating an enchanting string light window display requires a thoughtful selection of materials, including fairy lights, adhesive hooks, and perhaps some decorative elements like garlands or fabric.
You'll appreciate the step-by-step instructions that guide you through the installation process, ensuring your lights are securely positioned and aesthetically pleasing.
Additionally, exploring various creative design options can transform your window into a stunning focal point, enhancing both your interior and exterior ambiance.
Materials Needed List
To craft a stunning string light window display, you'll need a few essential materials that make the process both enjoyable and straightforward. Gathering the right items not only sets the foundation for your creative endeavor but also fosters a sense of community as you engage in this delightful project.
Here's a quick list of what you'll need to get started:
- String Lights: Choose warm or cool white lights, or even colorful ones, depending on the atmosphere you want to create.
- Command Hooks or Clips: These will help you secure the lights in place without damaging your window frames, ensuring a clean and polished look.
- Extension Cord: If your outlet isn't conveniently located, an extension cord will be vital to avoid any limitations in your design.
As you gather these materials, envision the ambiance you wish to cultivate. With string lights, you're not just lighting your space; you're inviting warmth and connection into your home.
Step-by-Step Instructions
Start by deciding how you want to arrange the string lights in your window. You might opt for a classic vertical drop, creating a cascading effect, or perhaps a more whimsical zigzag pattern that adds playful charm.
Once you've settled on an arrangement, gather the necessary materials, including adhesive hooks or clips to secure the lights without damaging your window frame.
Next, measure the width and height of your window to guarantee you have enough string lights for your design. Begin by attaching the hooks or clips at strategic points along the window frame, ensuring they're evenly spaced to maintain a cohesive look.
Now, carefully drape the string lights from the top of the window, working your way down or across, depending on your chosen arrangement. As you hang each segment, adjust the spacing to guarantee a balanced appearance.
Once you've finished hanging the lights, plug them in to test your display.
Voila! You've transformed your window into a warm, inviting space that not only enhances your home but also creates a sense of belonging.
Enjoy the beautiful ambiance that your DIY string light display brings to your surroundings.
Creative Design Options
With your string lights elegantly hung, you can explore various design options to elevate your window display even further.
Consider how you can transform your space into a welcoming oasis that reflects your personality and style. Here are a few creative ideas to inspire you:
- Layered Textiles: Drape sheer curtains or fabric behind your lights to create an ethereal glow, softening the overall look and adding depth to your design.
- Nature Elements: Incorporate vines or greenery intertwined with your lights, evoking a cozy, organic feel that fosters a sense of tranquility and connection with nature.
- Seasonal Themes: Change your display according to the seasons or holidays; for instance, add ornaments or colored bulbs during festive times to create a warm, inviting atmosphere.
DIY Macrame Plant Hanger
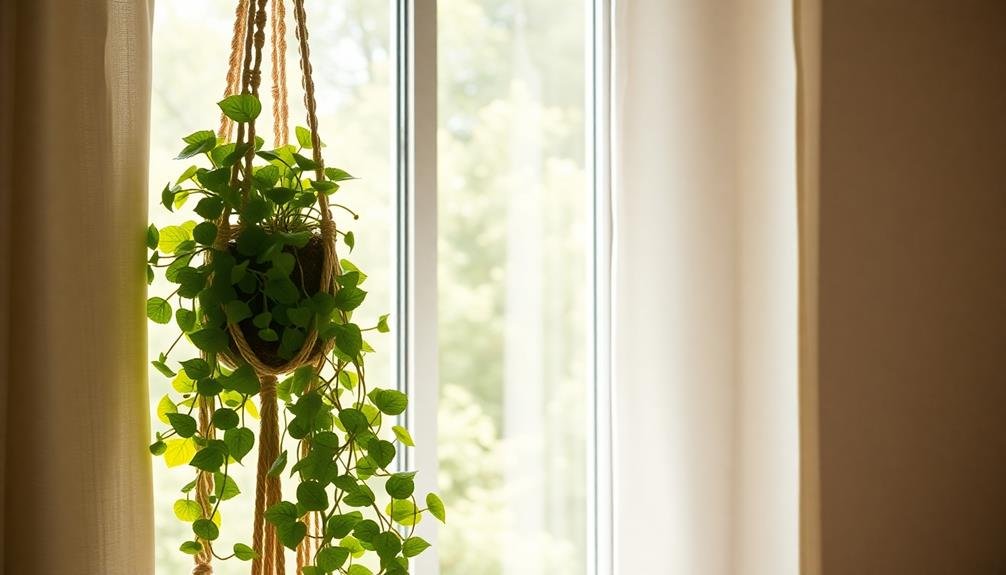
Have you ever wanted to add a touch of bohemian flair to your home while showcasing your beloved plants? A DIY macrame plant hanger is an ideal solution, effortlessly merging style and functionality. Not only does this project allow you to display your greenery, but it also infuses your space with texture and warmth, creating a cozy atmosphere that invites connection.
Consider pairing your plant hanger with natural elements like pinecones or colorful leaves to enhance the overall aesthetic of your space.
To get started, gather your materials: cotton macrame cord, scissors, and a wooden ring. Begin by cutting lengths of cord—typically, 4-6 pieces around 4-5 feet long works well. Using basic knots, such as square knots or lark's head knots, you can create intricate designs that cater to your aesthetic preferences.
As you weave the cords together, consider incorporating beads or decorative elements to enhance the visual appeal.
Once completed, hang your macrame plant hanger from a window hook or ceiling mount, positioning it to catch the light and provide your plants with the necessary warmth and growth. This simple yet effective project not only elevates your interior decor but also fosters a sense of belonging by celebrating nature within your personal space.
Enjoy the satisfaction of crafting a unique piece that reflects your individual style.
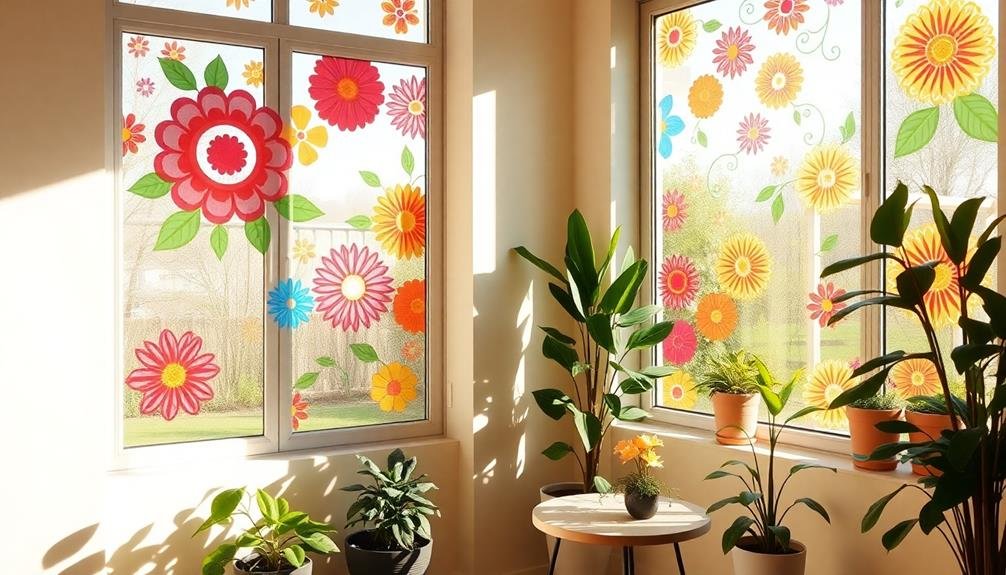
Stenciled Window Panels

When you're ready to transform your window panels, selecting the right stencil design is vital, as it sets the tone for your entire space.
You'll need a few essential materials, such as stencil brushes, acrylic paint, and painter's tape, to guarantee clean lines and a polished finish.
With these components in mind, you can create a stunning focal point that showcases your personal style while enhancing the overall ambiance of your room.
Choosing Your Stencil Design
Your stencil design plays an essential role in transforming plain window panels into eye-catching decor. Selecting the right pattern not only enhances your space but also reflects your personal style, creating a sense of belonging in your home.
When considering your stencil design, think about the overall theme and atmosphere you want to cultivate. Whether you're aiming for a modern, rustic, or bohemian vibe, your choice will set the tone for your decor.
Here are a few design ideas to inspire you:
- Geometric Patterns: Clean lines and shapes can add a contemporary flair to your windows.
- Floral Motifs: Delicate flowers can evoke a sense of nature, bringing warmth and softness to your space.
- Seasonal Themes: Stencils that reflect seasonal changes can keep your decor fresh and engaging throughout the year.
As you explore these options, envision how each design can harmonize with your existing decor, enhancing your home's aesthetic.
Materials You'll Need
To create stunning stenciled window panels, you'll need a few essential materials that will make the process smooth and enjoyable.
First, gather a high-quality stencil of your chosen design; this could range from floral patterns to geometric shapes, depending on your aesthetic preference.
Next, opt for a sturdy adhesive spray or painter's tape to secure the stencil firmly to the window, ensuring crisp lines and preventing any paint bleed.
You'll also require acrylic or fabric paint in your desired colors, which can provide a vibrant touch to your panels.
A foam roller or a brush helps to apply the paint evenly, while a palette or plate for mixing colors will allow for customization.
Don't forget a drop cloth or newspaper to protect your surfaces from any accidental spills or splatters.
Decorative Window Film
Although many people overlook their windows as a canvas for creativity, decorative window film can transform plain glass into a stunning focal point in any room. This versatile solution not only enhances aesthetic appeal but also provides privacy, UV protection, and energy efficiency.
By selecting the right design, you can harmonize your space, reflecting your personality and taste while fostering a sense of belonging within your home.
Consider these appealing options for decorative window film:
- Frosted Patterns: These soft textures diffuse light beautifully while obscuring views from the outside, perfect for bathrooms or private areas.
- Nature-Inspired Designs: Floral motifs or leafy silhouettes can create a serene atmosphere, bringing a touch of the outdoors inside.
- Geometric Shapes: Bold lines and shapes add a modern flair, making them an excellent choice for contemporary spaces.
Installing decorative window film is a straightforward DIY project that requires minimal tools, allowing you to personalize your environment without breaking the bank.
With various styles available, you can easily find a film that resonates with your home's decor, creating a welcoming atmosphere that invites connection and warmth.
DIY Beaded Curtain
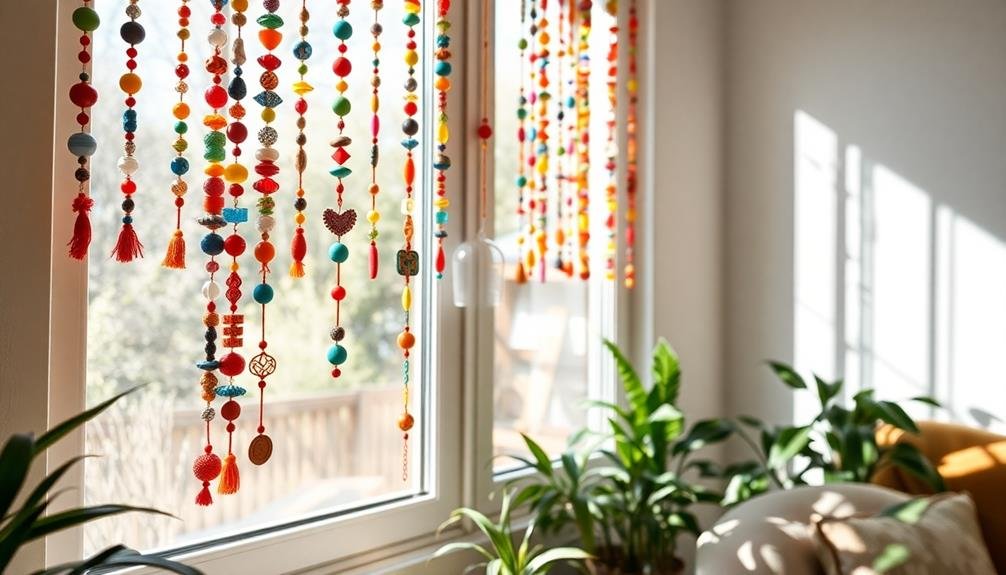
Creating a DIY beaded curtain can transform your space while adding a touch of personal flair, so let's gather the materials you'll need, from colorful beads to sturdy string.
Once you've assembled your supplies, I'll guide you through step-by-step instructions that guarantee your curtain hangs beautifully and functions well.
To make your beaded curtain truly unique, consider some personalization tips and ideas that reflect your style, whether through color combinations or bead patterns.
Materials You'll Need
When you're ready to craft your DIY beaded curtain, gathering the right materials is essential for a successful project. Having everything you need on hand not only streamlines the process but also guarantees you can achieve the aesthetic you envision for your space.
Start by selecting your beads; consider a mix of colors and sizes to create visual interest, and ensure they're suitable for stringing. Next, you'll require sturdy string or fishing line, which will support the weight of the beads while maintaining durability. Finally, you'll need a curtain rod or dowel to hang your creation, ensuring it fits your window dimensions.
Here's a quick list of materials to get you started:
- Beads: Choose a variety of colors and sizes.
- String or Fishing Line: Opt for a durable option that won't break easily.
- Curtain Rod or Dowel: Select one that complements your decor and fits your window.
Once you have these essentials, you'll be well on your way to creating a stunning beaded curtain that reflects your personal style and enhances your home's ambiance.
Enjoy the process, and let your creativity shine!
Step-by-Step Instructions
To craft your DIY beaded curtain, start by measuring the width and height of your window. This initial step is essential, as it determines how many beads you'll need.
Once you've gathered your measurements, cut a length of fishing line or string that's about twice the height of your window, allowing for knots at the top. Next, begin threading beads onto the line, alternating colors or shapes for an eye-catching design that reflects your personality and style; consider using wooden, glass, or acrylic beads to create texture.
When you've reached your desired length, tie a secure knot at the end of the string to prevent beads from slipping off. For a polished finish, attach a curtain rod or a sturdy dowel to the top of your beaded curtain by creating small loops with additional string or using adhesive hooks.
Personalization Tips and Ideas
While you're crafting your DIY beaded curtain, think about how you can infuse your personal style into the design. Personalization is key to making your space feel uniquely yours, so consider incorporating elements that resonate with your tastes and experiences.
You might want to experiment with colors, patterns, and textures that reflect your personality.
To help you get started, here are some ideas to personalize your beaded curtain:
- Color Choices: Select beads in shades that complement your room's existing color palette, or choose vibrant hues that make a bold statement.
- Patterns and Shapes: Mix different bead shapes—like round, square, or even themed shapes—to create an eye-catching pattern that speaks to your style.
- Additional Embellishments: Consider adding charms, crystals, or tassels to your curtain for a touch of elegance and individuality.
Repurposed Vintage Frames
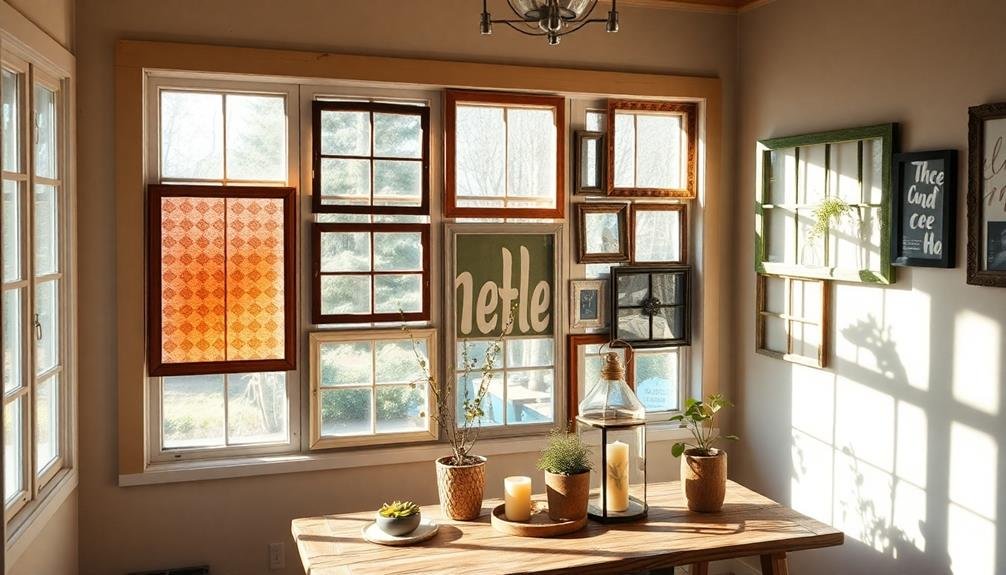
Transforming your living space with repurposed vintage frames adds a touch of nostalgia and creativity to your window decor. By creatively utilizing these frames, you can curate an inviting atmosphere that resonates with your personal style. Simply gather an assortment of vintage frames, which can often be found at thrift stores or flea markets, and consider painting them in complementary colors to suit your decor.
Once you've selected your frames, you can display them in various ways, such as creating a gallery wall or hanging them directly in the window. You might even choose to fill some frames with fabric or wallpaper samples for a textured look.
To help you get started, here's a simple table of ideas for using vintage frames in your decor:
| Frame Style | Suggested Use | Color Palette |
|---|---|---|
| Ornate Gold Frame | Gallery Wall Accent | Warm Neutrals |
| Rustic Wood Frame | Window Plant Holder | Earthy Tones |
| Simple Black Frame | Inspirational Quotes | Monochrome |
| Whitewashed Frame | Seasonal Decor | Soft Pastels |
| Colorful Frames | Child's Room Display | Bright Primary Colors |
With just a little effort, you can create an inviting window display that feels uniquely yours.
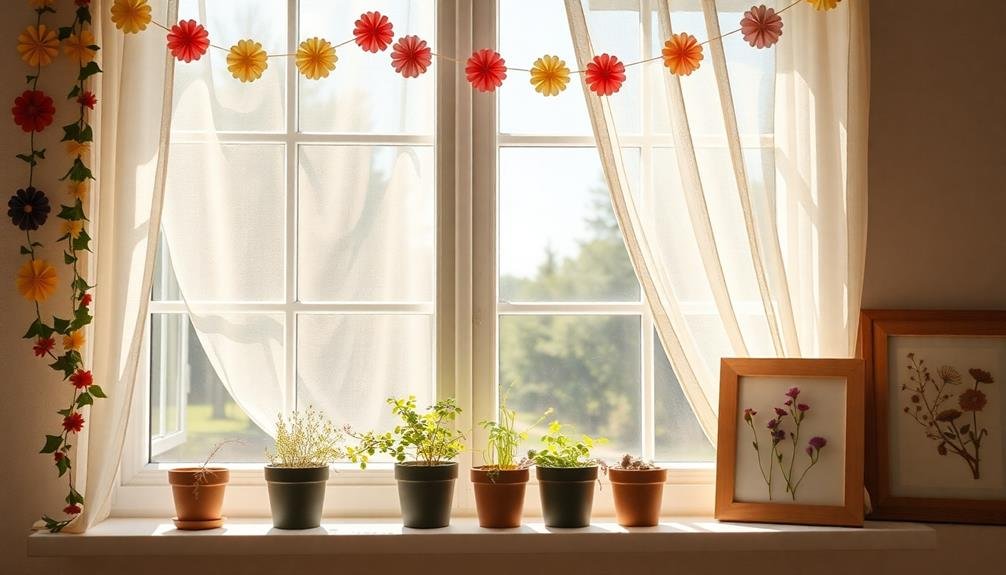
Nature-Inspired Window Hangings
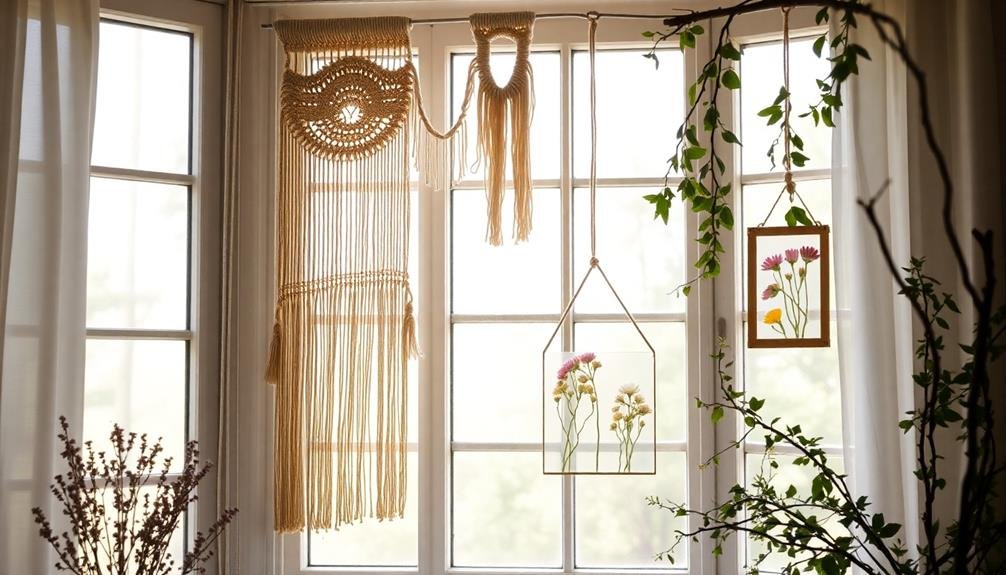
If you're looking to bring the beauty of the outdoors inside, nature-inspired window hangings can be the perfect solution.
These decorative elements not only enhance your living space but also create a serene atmosphere that connects you with nature. By incorporating organic materials, you can achieve a rejuvenating aesthetic that invites tranquility and harmony into your home.
Consider these ideas to get started:
- Dried flower garlands: Use twine to string together an assortment of dried flowers and herbs, creating a delicate, fragrant display that adds color and charm to your windows.
- Feather mobiles: Collect feathers from nature walks or craft stores, and suspend them from a lightweight branch. This whimsical hanging will sway gracefully, evoking a sense of freedom and movement.
- Leaf prints: Press leaves between two pieces of glass or acrylic, framing them with a simple border. This elegant piece will provide a natural touch while allowing light to filter through beautifully.
With these nature-inspired window hangings, you can cultivate a warm, inviting environment that not only reflects your personality but also fosters a sense of belonging in your home.
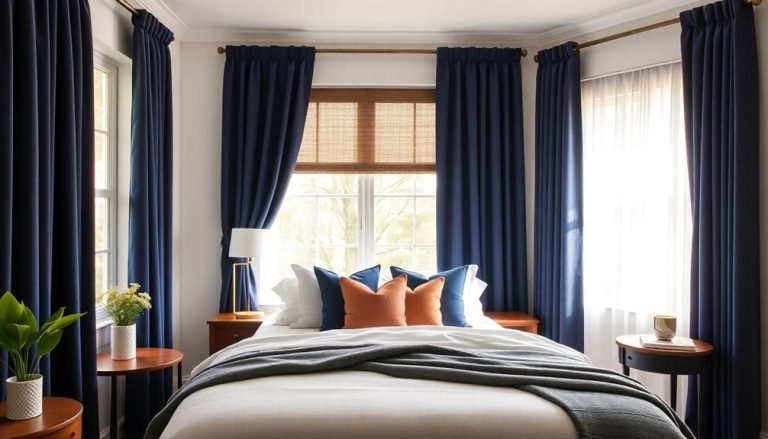
Simple Sheer Panel Curtains
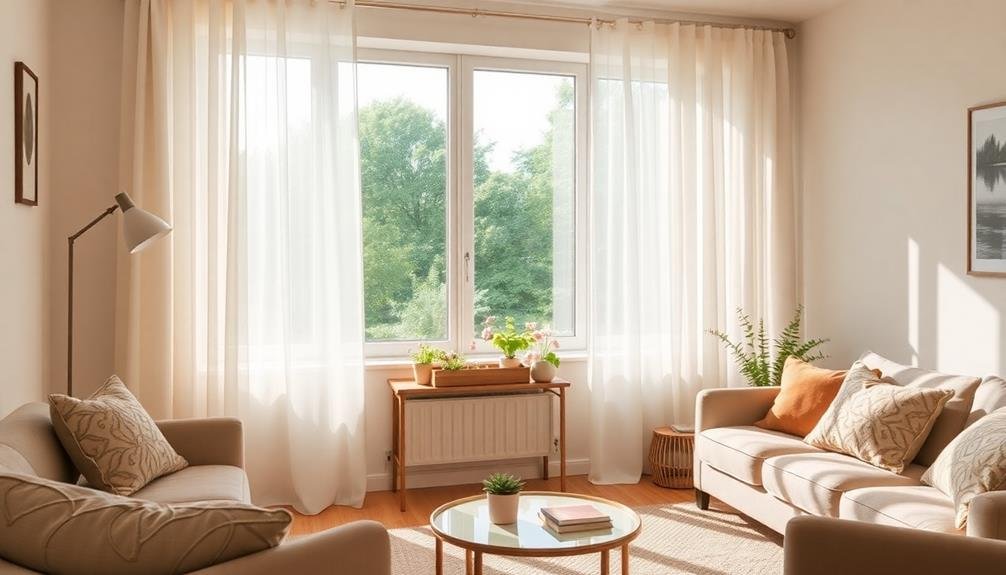
Simple sheer panel curtains can instantly elevate your space with their light and airy feel. They allow natural light to filter through, creating a warm and inviting atmosphere while also providing a sense of privacy. DIYing these curtains is not only budget-friendly, but it also gives you the chance to express your personal style. Choosing the right fabric, color, and length can transform your windows into a focal point.
To help you visualize some options, here's a table of ideas for your sheer panel curtains:
| Fabric Type | Color Palette | Length Options |
|---|---|---|
| Organza | Soft pastels | Floor-length |
| Voile | Neutral tones | Café-length |
| Lace | Bright whites | Window-sill |
| Tulle | Earthy hues | Custom lengths |
| Cotton blend | Bold colors | Layered styles |
Frequently Asked Questions
What Tools Do I Need for Basic Window Decor Projects?
For basic window decor projects, you'll need scissors, a measuring tape, adhesive (like glue or tape), fabric or paper for your designs, and possibly a ladder for higher windows. Get creative and make it personal!
How Can I Ensure My DIY Decor Is Safe for Kids?
To guarantee your DIY decor is safe for kids, use non-toxic materials, avoid sharp edges, and secure items properly. Regularly check for wear and tear, and always supervise playtime around your creations. Safety first!
What Materials Are Best for Outdoor Window Decorations?
For outdoor window decorations, you'll want weather-resistant materials like acrylic, treated wood, or metal. They'll withstand the elements while adding charm to your home, creating a welcoming atmosphere that everyone will appreciate and enjoy.
How Do I Clean and Maintain My DIY Window Decor?
To clean and maintain your DIY window decor, gently wipe surfaces with a damp cloth. Check for wear regularly, and if needed, refresh colors or repairs. Keeping it tidy guarantees it always looks inviting and cherished.
Can I Customize These Ideas for Different Window Sizes?
Absolutely, you can customize these ideas for any window size! You'll measure carefully, adjust materials, and create unique pieces that fit perfectly, ensuring your space feels inviting, personal, and truly yours. Let your creativity shine!
Whats Next
Incorporating these ten budget-friendly DIY window decor ideas can greatly elevate your living space, transforming it into a sanctuary of style and comfort. From upcycled fabric curtains that breathe new life into old textiles to nature-inspired hangings that invite warmth, each project allows for personal expression and creativity. With a bit of ingenuity and effort, you'll discover that enhancing your windows doesn't have to be an extravagant endeavor; instead, it can be a delightful exploration of design possibilities.