You can create, you can innovate, and you can inspire with recycled material wall art. By incorporating sustainable practices into your decor, you not only enhance your space but also contribute positively to the environment. Imagine transforming everyday items into stunning pieces that reflect your personality and values. Whether you want to craft vibrant mosaics or rustic pallet art, the possibilities are endless. Curious about how to turn ordinary waste into extraordinary wall art? Let's explore some creative ideas that can elevate your home while keeping sustainability in mind.
Key Elements
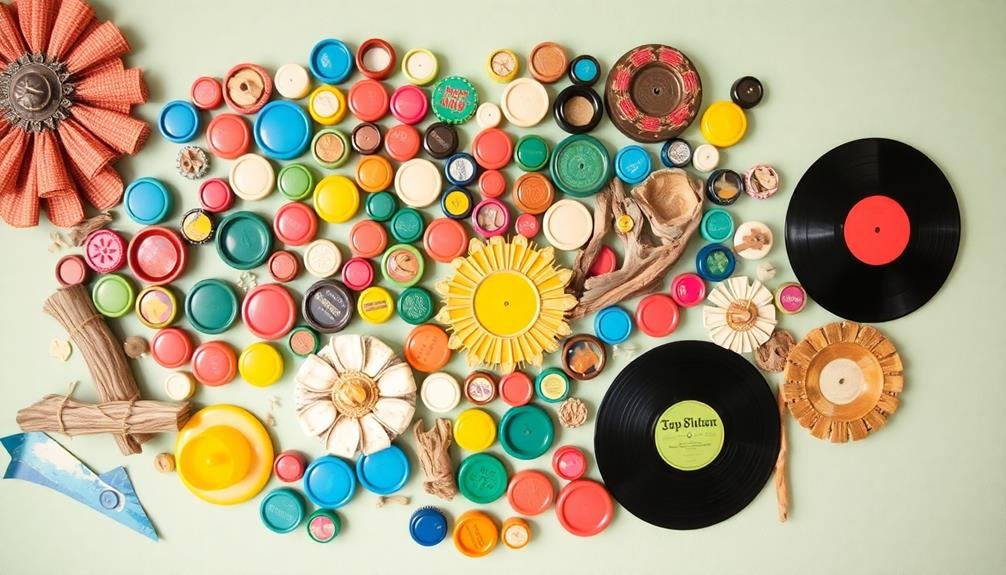
- Upcycled bottle cap mosaics create vibrant and textured designs using colorful beverage caps, perfect for eco-friendly wall art.
- Cardboard box wall art repurposes old boxes into unique shapes, enhanced with paint or decoupage for visual impact.
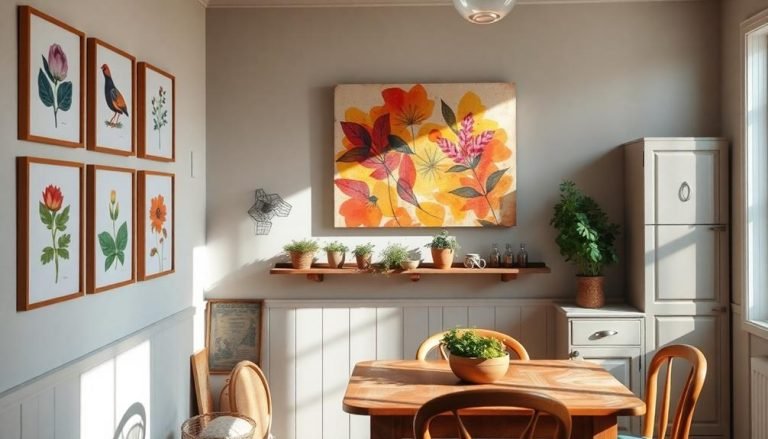
- Vintage book page collages celebrate literature by layering old pages, conveying personal themes or emotions through artistic expression.
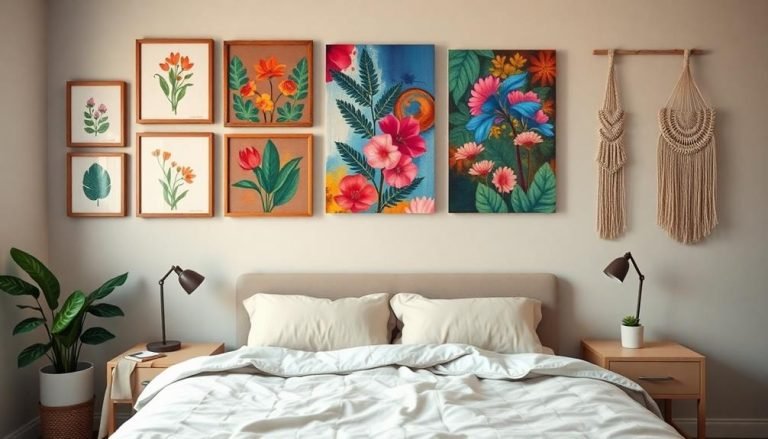
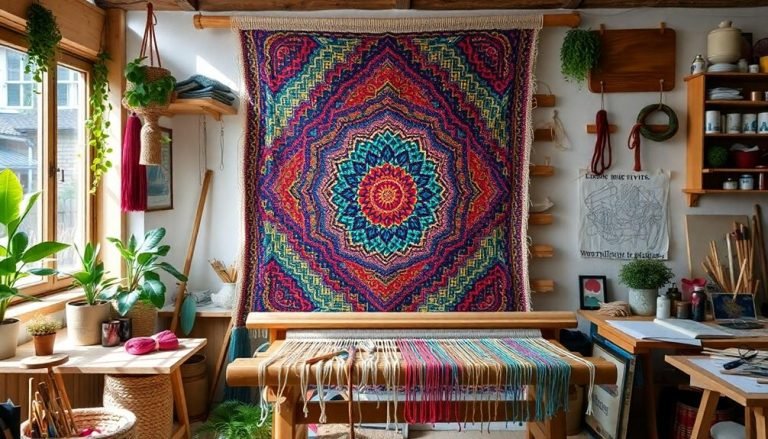
- Fabric scrap wall hangings transform leftover fabric into decorative pieces, adding warmth and color to communal spaces.
- Wooden pallet art utilizes discarded pallets to create rustic wall decor or functional furniture with geometric patterns and stenciled quotes.
Upcycled Bottle Cap Mosaics
When it comes to transforming everyday trash into stunning art, upcycled bottle cap mosaics stand out as a creative and eco-friendly option. You can easily collect colorful caps from your favorite beverages, allowing you to contribute to sustainability while expressing your artistic flair.
Once gathered, consider arranging them into intricate patterns or images, thereby creating a vibrant visual impact that captivates viewers.
To begin, select a sturdy backing, such as a wooden board or canvas, which will support the weight of the caps. Using a hot glue gun, securely attach the caps in your desired design, ensuring each piece fits snugly.
Experiment with color combinations and shapes; for instance, a sunburst pattern made from golden and yellow caps can radiate warmth, while a serene ocean scene can be achieved with various shades of blue.
As you explore this artistic avenue, aim to incorporate diverse cap sizes and textures, adding depth and interest to your creation.
When you finish, hang your mosaic proudly, and enjoy the conversations it sparks among friends and family, reinforcing a sense of belonging to a community that values creativity and environmental consciousness.
Cardboard Box Wall Art
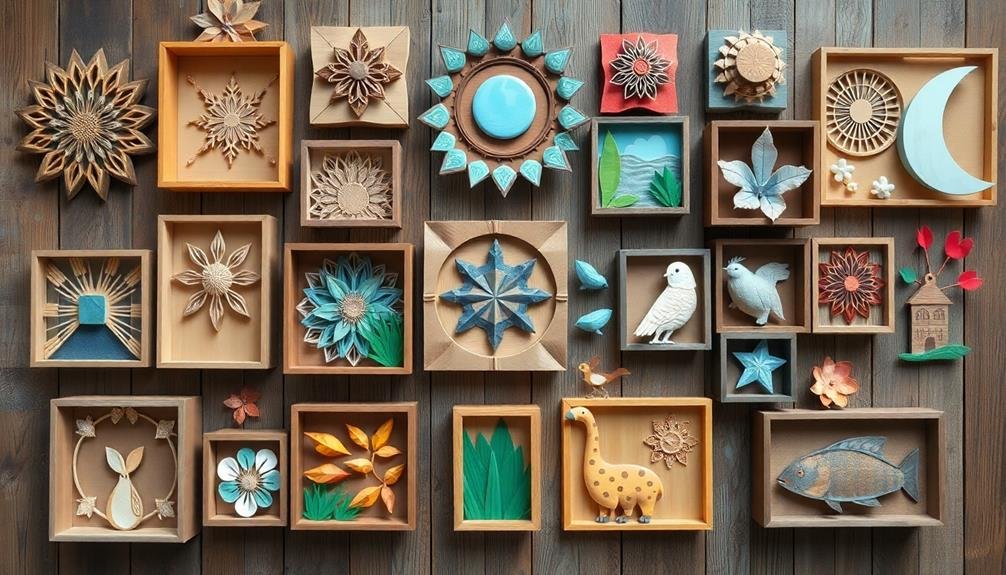
Upcycled bottle cap mosaics are just one way to repurpose materials into eye-catching art; cardboard boxes offer another fantastic canvas for your creativity. Transforming cardboard into wall art not only showcases your artistic flair, but it also fosters a sense of community and belonging, as you share your unique creations with others.
To begin, gather various cardboard boxes, cutting them into shapes and sizes that resonate with your vision. You might consider creating geometric patterns or intricate landscapes, using paint, markers, or decoupage techniques to enhance your design.
Adding texture is another way to elevate your cardboard wall art; layering pieces, incorporating fabric remnants, or even using natural elements like twigs can create a multidimensional effect that invites touch and admiration.
Consider organizing a crafting session with friends or family, encouraging collaboration and connection as you collectively explore your artistic potential. Once completed, hang your artwork in a prominent space, where it can spark conversations and inspire others to embrace the beauty of upcycled materials.
Vintage Book Page Collage
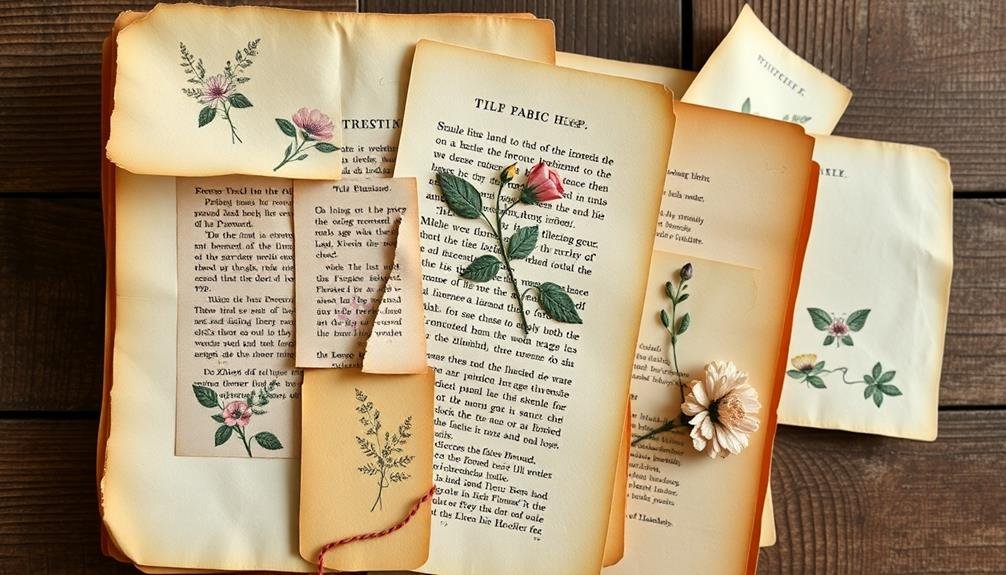
There's something magical about transforming vintage book pages into a stunning collage that tells a story of its own. This art form not only allows you to celebrate literature but also gives you a unique way to express your creativity while adding charm to your space. To create your own vintage book page collage, gather pages from old books, scissors, and a sturdy backing material like canvas or cardboard. Arrange your selections thoughtfully, overlapping them to create depth and intrigue.
| Element | Description | Example |
|---|---|---|
| Page Selection | Choose pages with varied fonts | Pages from poetry books |
| Layout Design | Experiment with different arrangements | Grid, spiral, or random |
| Adhesive Choice | Select a strong glue or mod podge | Use spray adhesive for even coverage |
As you piece your collage together, consider the emotions or themes you want to convey. Each page can evoke nostalgia, whimsy, or even a sense of adventure, instantly making your home feel more inviting. In the end, your vintage book page collage becomes a reflection of your journey, inviting others to connect with your narrative.
Fabric Scrap Wall Hangings
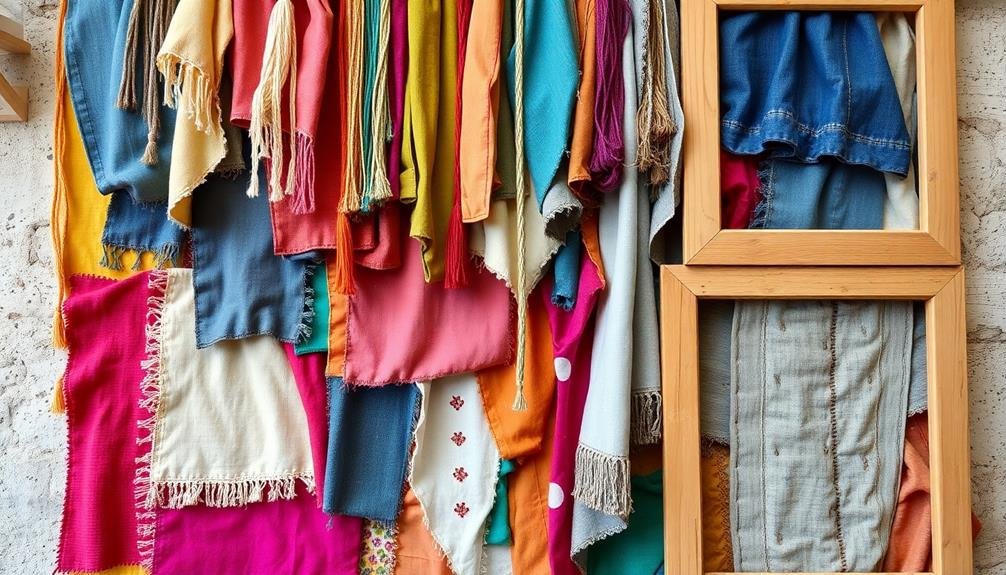
Anyone can create stunning fabric scrap wall hangings that add warmth and texture to any room. By repurposing remnants of fabric, you not only embrace sustainability but also craft a personal piece of art that reflects your unique aesthetic.
Start by gathering various fabric scraps in complementary colors, textures, and patterns—think old linens, vibrant cottons, or even worn-out clothing. For added inspiration on how to personalize your space, explore DIY projects and personalization that enhance your decor with creativity.
Next, consider the arrangement; a random collage can evoke a sense of playful dynamism, while a more structured layout might convey calm and order. You can use a sturdy canvas or a wooden frame as a base, adhering the pieces with fabric glue or stitches for added dimension.
To enhance your creation, incorporate embellishments like buttons, lace, or ribbons which can elevate the overall design and provide intriguing focal points.
Hang your finished piece in a communal space, like a living room or hallway, to invite warmth and conversation among friends and family. This artistic endeavor not only transforms discarded materials into something beautiful but also fosters a sense of belonging and connection to your personal history, making your living space a true reflection of who you are.
Wooden Pallet Art
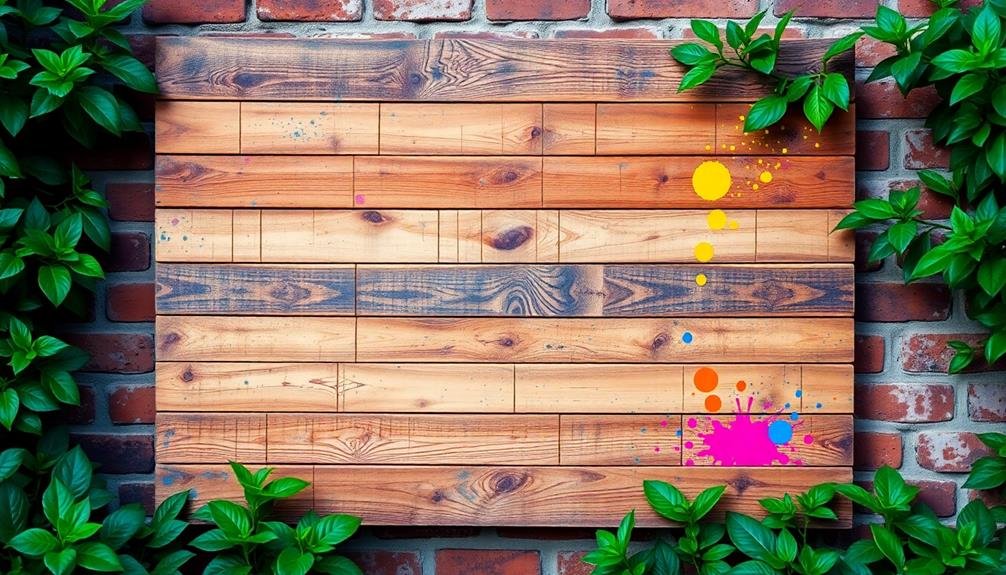
Wooden pallet art offers a unique opportunity to transform discarded materials into stunning focal points for your home.
You can create everything from intricate wall hangings that showcase your creative designs to rustic pieces that enhance the natural charm of your living space, capturing a warm and inviting atmosphere.
Creative Pallet Designs
Pallets, often discarded as plain shipping materials, can transform into stunning pieces of art with a bit of creativity. By reimagining these wooden structures, you can create unique designs that elevate your living space and foster a sense of belonging within your community.
Here are three creative pallet designs to inspire your next project:
- Pallet Wall Art: Arrange your pallets in a geometric pattern, painting or staining them in complementary colors to create a striking focal point on your wall.
- Pallet Shelves: Deconstruct pallets and reassemble them into rustic shelves, perfect for displaying plants, books, or cherished mementos, adding both functionality and charm to your home.
- Pallet Furniture: Transform pallets into functional furniture pieces like coffee tables or benches. By adding cushions or glass tops, you can create inviting spaces that encourage gathering and connection.
Each of these designs not only showcases your creativity but also invites others to appreciate the beauty of recycled materials.
With your newfound skills, you'll feel a sense of pride in your ability to craft art that resonates with both you and your loved ones, fostering a warm and welcoming atmosphere.
Rustic Aesthetic Appeal
Embracing the rustic aesthetic can truly elevate your wooden pallet art projects. By incorporating natural textures and earthy tones, you can create pieces that not only reflect your personal style but also foster a sense of warmth and belonging within your space.
Consider using reclaimed wood, as its unique imperfections tell a story, connecting you to the past and creating an inviting atmosphere.
One popular approach is to craft a large statement piece featuring a landscape or abstract design, allowing the organic grain of the wood to serve as both a canvas and a frame. You might also experiment with layering different shades of wood, creating depth and visual interest.
Adding elements like stenciled quotes or family names can further personalize your art, making it a cherished focal point in your home.
Additionally, you could explore the integration of other materials, such as metal or fabric, to juxtapose textures and enhance the rustic charm.
Tin Can Lanterns
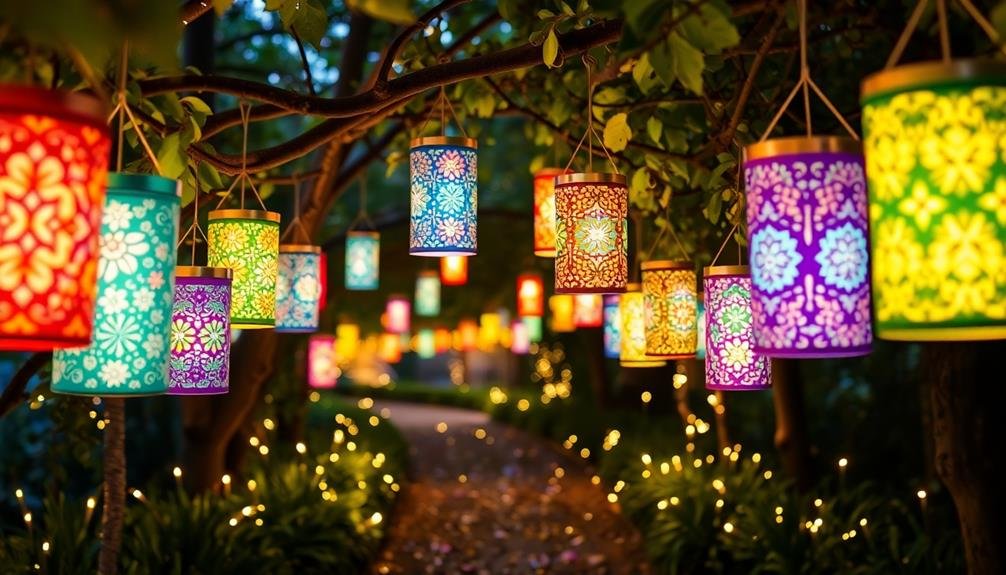
Creating tin can lanterns is a fun and eco-friendly way to add a touch of charm to your outdoor space. Not only do these lanterns provide ambient lighting, but they also showcase your creativity while recycling materials that would otherwise contribute to waste.
To make your own tin can lanterns, follow these simple steps:
- Prepare the Cans: Begin by removing labels and thoroughly cleaning the cans. Fill them with water and freeze overnight, which will help maintain their shape during the next steps.
- Design Your Patterns: Once frozen, take the cans out of the freezer and gently tap them with a hammer and nail to create holes in your desired pattern. Think stars, hearts, or any design that resonates with you.
- Add the Finishing Touches: After removing the ice and drying the cans, paint them with weather-resistant spray paint if you wish to add color. Finally, insert a tealight candle or a small LED light inside to illuminate your designs at night.
With these lanterns, you'll not only beautify your environment but also foster a sense of community through shared creativity.
Plastic Spoon Flower Art
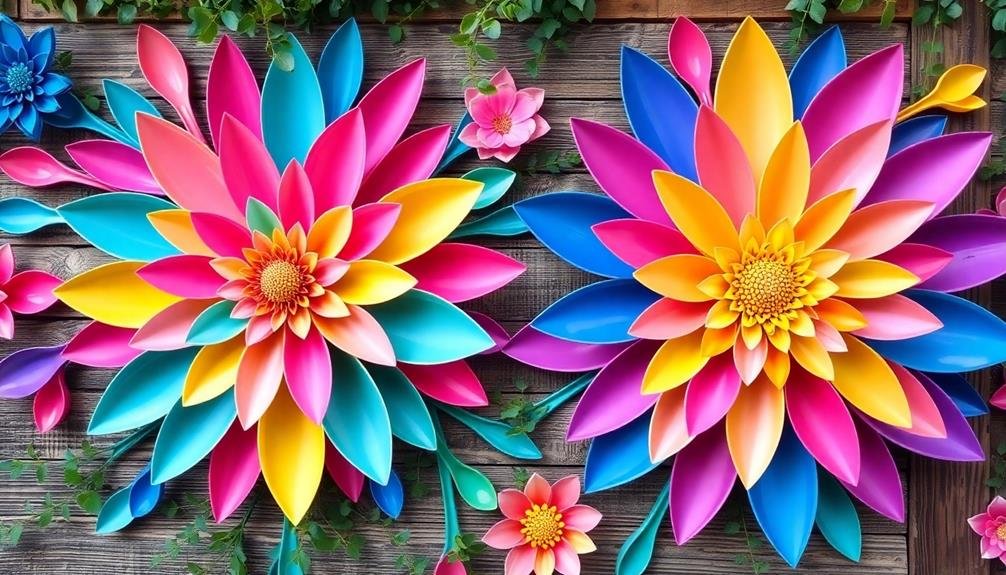
Creating plastic spoon flower art is a delightful way to transform everyday materials into stunning wall décor, and it all starts with gathering the right supplies.
You'll want to collect plastic spoons, paint, and a sturdy base, which could be a canvas or wooden board, before following straightforward instructions to assemble your flowers.
As you experiment with different colors and designs, you'll discover a multitude of creative variations that can truly make your artwork unique and eye-catching.
Materials Needed Overview
For your Plastic Spoon Flower Art project, gathering the right materials is crucial to bring your vision to life. This creative endeavor allows you to transform ordinary plastic spoons into stunning floral designs, making it a rewarding experience that connects you with other like-minded creators.
Start by collecting the following items to guarantee you have everything you need.
- Plastic Spoons: Aim for a variety of colors to add vibrancy to your flowers. You can also consider using a mix of disposable and reusable spoons, depending on your preference for sustainability.
- Hot Glue Gun and Glue Sticks: A hot glue gun is essential for securing the spoons together, providing the strength necessary to create stable flower shapes. Confirm you have plenty of glue sticks on hand, as you'll likely use more than you anticipate.
- Wire or Pipe Cleaners: These will serve as the stems for your flowers. Choose flexible wire for durability or colorful pipe cleaners to add a playful touch to your artwork.
With these materials in your toolkit, you're well-prepared to start your artistic journey, ready to share your creations with others who appreciate creativity and resourcefulness.
Step-by-Step Instructions
With your materials gathered, it's time to bring your plastic spoon flowers to life. Begin by taking your plastic spoons and carefully removing the handles, as this will create the flower petals. You'll want to use scissors or a craft knife for precision, ensuring that you handle your tools safely.
Next, paint the spoon petals in vibrant colors of your choice, allowing them to dry completely. As you work, consider color combinations that resonate with your personal style or complement your existing decor.
Once dry, arrange the petals in a circular formation, overlapping them slightly to create a fuller flower appearance. Secure the petals together using hot glue, ensuring they're firmly attached.
For added depth, you can create a center for your flower using a button, bead, or even crumpled paper. Attach this center with glue, and consider using a green-painted stick or wire for the stem.
Lastly, mount your beautiful creation on a canvas or directly to the wall, securing it with nails or adhesive strips. This step not only showcases your artistic prowess but also transforms your space, inviting a sense of belonging through shared creativity.
Creative Design Variations
Exploring different design variations for your plastic spoon flower art can elevate your creations to new heights.
By incorporating unique elements, you can craft stunning pieces that reflect your personal style while fostering a sense of community.
Here are three creative design variations you may want to evaluate:
1. Color Gradation: Experiment with a gradient effect by painting your spoons in different shades of the same color.
This technique adds depth and visual interest, making your flowers appear more vibrant.
2. Layering Techniques: Combine different sizes of spoons to create a multi-dimensional effect.
By layering smaller spoons on top of larger ones, you can give your flowers a fuller and more dynamic look, enhancing their overall impact.
3. Mixed Media: Integrate other recycled materials, like fabric or paper, to complement your spoon flowers.
Adding elements such as textured leaves or backgrounds can provide contrast and elevate the visual narrative of your art.
Frequently Asked Questions
What Tools Do I Need for Recycled Material Wall Art Projects?
For your recycled material wall art projects, you'll need scissors, glue, a sturdy base, paint, brushes, and possibly some wire or string for hanging. Gather these tools, and let your creativity flow!
How Can I Safely Cut and Shape Recycled Materials?
To safely cut and shape recycled materials, you'll need gloves and safety goggles. Use sturdy scissors or a craft knife, and always secure your materials. It's all about letting your creativity shine while staying safe!
Where Can I Find Recycled Materials for My Art?
You can find recycled materials for your art at local thrift stores, garage sales, or even online marketplaces. Don't forget to check your own home—old items can spark your creativity and add a personal touch!
How Do I Display My Recycled Material Wall Art?
Displaying your recycled material wall art's like showcasing your soul. Hang it in a cozy spot, use varied heights, and let each piece tell its story. Invite friends to admire your creativity and spark conversations.
Can Recycled Wall Art Be Weatherproofed for Outdoor Use?
Yes, you can weatherproof recycled wall art for outdoor use. Use a clear sealant or outdoor varnish to protect it from moisture and UV rays, ensuring your art remains vibrant and durable in any environment.
Whats Next
Incorporating recycled materials into your wall art not only enhances the aesthetic appeal of your living space but also embodies a commitment to sustainability, inviting reflection on the value of repurposing. Whether you opt for vibrant bottle cap mosaics or charming tin can lanterns, each creation serves as a demonstration of your creativity and environmental consciousness. So, why not transform discarded items into conversation starters that blend artistry with purpose? Your walls can indeed tell a story worth sharing.