You're looking to refresh your space, and a no-frame photo wall can be the perfect solution. Imagine creating a gallery wall with clips for easy updates or opting for a magnetic photo board that lets you switch things up in seconds. You might even consider a rustic wooden pallet display or playful washi tape arrangements. Each idea lends a unique flair, but there's more to explore. What if you could combine elements for an even more dynamic display? Let's uncover how you can transform your wall into a personal showcase that reflects your style.
Key Elements
- Create a gallery wall using clips for easy photo swaps and a cohesive theme that evolves over time.
- Use a magnetic photo board for effortless rearrangement and colorful magnets to enhance visual appeal.
- Display photos on fabric hangings or wooden pallets for a rustic or textile-inspired aesthetic.
- Incorporate washi tape to create playful arrangements directly on the wall without frames.
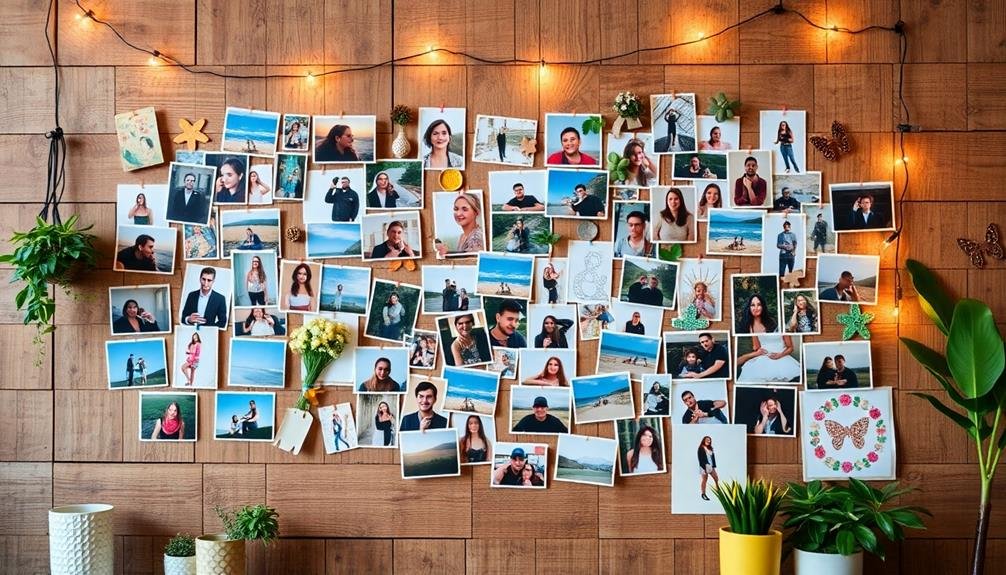
- Enhance your display with string lights for a magical ambiance, clipping photos onto the lights for added charm.
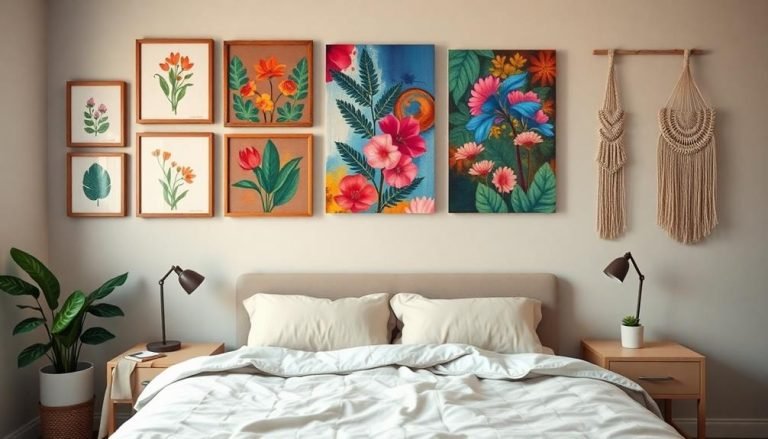
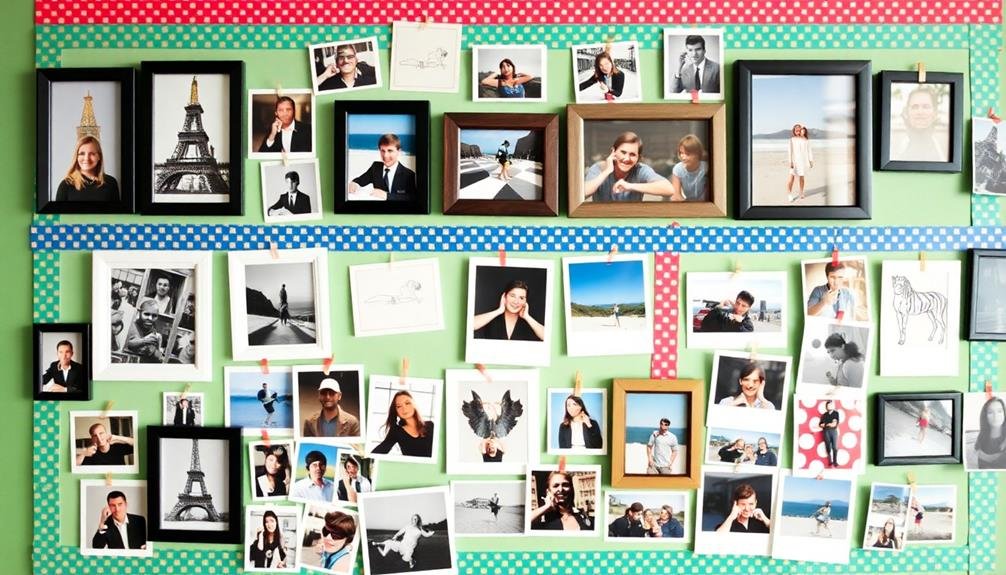
Gallery Wall With Clips
Creating a gallery wall with clips is an effortless way to showcase your favorite photos and artwork. By using simple clips, you can seamlessly interchange images, allowing your wall to evolve as your experiences and aesthetics change.
Begin by selecting a cohesive color palette or theme that resonates with your personal style, ensuring a unified look that invites admiration.
To start, choose a large canvas or a wooden board as your base, then arrange your clips in a visually appealing pattern. You might opt for a vertical line, a grid, or a more organic flow that reflects your personality.
Consider mixing sizes and orientations of your images to create depth; pairing smaller photos with larger artwork can add intrigue.
Utilizing different types of clips, such as colorful clothespins or metallic clips, can enhance the visual interest of your gallery wall. You may even incorporate other elements like string lights or decorative washi tape to further personalize the display.
A gallery wall with clips not only showcases your cherished memories but also fosters a sense of belonging, inviting friends and family to engage with your unique narrative in a warm, inviting space.
Washi Tape Photo Arrangement
Washi tape transforms your photo arrangement into a playful and creative expression of your personality. This versatile adhesive, available in an array of colors and patterns, allows you to design a unique display that reflects your individual style and preferences. Instead of traditional frames, you can use washi tape to adhere your photos directly to the wall, creating a fluid, dynamic arrangement that invites conversation and connection.
To begin, gather your favorite photographs—these could be snapshots of cherished memories, inspirational quotes, or artwork that resonates with you. Next, select washi tape that complements your images, considering both color and design. You can create geometric shapes, playful borders, or even whimsical patterns that enhance the visual impact of your display.
When arranging the photos, feel free to mix sizes and orientations; this eclectic approach fosters an inviting atmosphere that encourages your guests to engage with your personal narrative.
Additionally, if you ever want to refresh your display, washi tape's easy removal guarantees that rearranging is a breeze, allowing your wall to evolve alongside you and your experiences. By embracing washi tape, you craft a space that speaks to who you are, inviting others to share in that journey.
String Lights and Photos
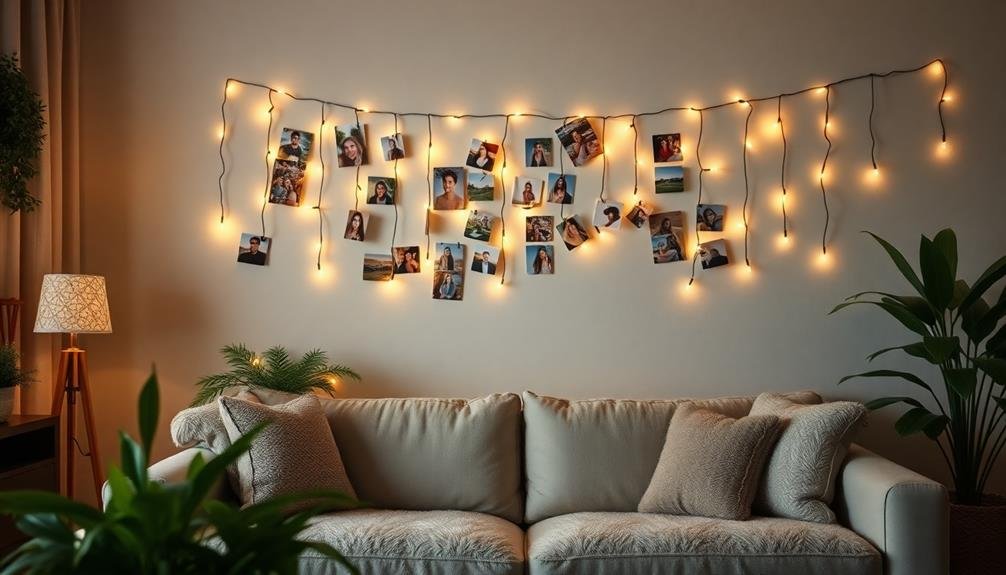
Illumination adds a magical touch to your photo wall, transforming simple snapshots into a mesmerizing display. By incorporating string lights into your arrangement, you create an inviting atmosphere that fosters a sense of connection and warmth, perfect for sharing memories with friends and family.
To achieve this effect, consider using warm white or multicolored fairy lights, draping them in a casual yet intentional manner across your photo wall. You can clip your favorite photos directly onto the string lights, allowing them to hang freely, or arrange them around the lights for a more structured look. This method not only highlights the cherished moments captured in your photos but also enhances the overall aesthetic of your space.
If you want to add depth, try combining different lengths of string lights, intertwining them with greenery or garlands to create a lush backdrop. This layered effect invites the viewer to explore each image, evoking nostalgia and belonging.
Additionally, using dimmable lights allows you to adjust the ambiance to suit any gathering, transforming your wall into an enchanting focal point that reflects your personality and shared experiences, making it feel truly like home.
Wooden Pallet Display

A wooden pallet display can instantly elevate your photo wall, offering a rustic charm that enhances the beauty of your favorite memories. By repurposing an old pallet, you create a unique and personal showcase for your photographs, allowing you to infuse character into your space. You can easily attach clips or twine to hang photos, providing an organic feel that resonates with warmth and belonging.
Here's a simple guide to help you get started:
| Step | Description | Tips |
|---|---|---|
| Choose a Pallet | Select a sturdy pallet, ideally one that's weathered or rustic. | Look for pallets in local stores or online marketplaces. |
| Prepare the Pallet | Sand down rough edges and clean the surface. | Use wood stain or paint for a personalized touch. |
| Attach Photos | Use clothespins, clips, or twine to hang your photos. | Arrange the photos in a way that tells a story. |
This wooden pallet display not only serves as an attractive backdrop for your images but also invites conversation and connection, making it an ideal centerpiece in any gathering space.
Magnetic Photo Board
When you consider a magnetic photo board for your wall, you'll find that the installation process is straightforward, making it an ideal choice for anyone looking to showcase their favorite memories without the hassle of traditional framing.
This versatile display option allows you to easily rearrange photos and artwork, giving you the freedom to switch things up whenever inspiration strikes.
Plus, with countless fun customization ideas, from colorful magnets to themed layouts, you can create a unique visual statement that truly reflects your personality.
Easy Installation Process
Setting up a magnetic photo board is a breeze, making it an ideal choice for anyone looking to create a personalized display.
Whether you're showcasing cherished memories or important milestones, this installation process is straightforward and user-friendly.
Here's how you can get started:
- Select Your Space: Choose a wall or area where you want your magnetic board to shine, ensuring it's visible to everyone who enters the room.
- Gather Materials: You'll need a magnetic board, adhesive strips (if you prefer not to drill), and some magnets—preferably colorful ones that complement your photos.
- Prepare the Surface: Clean the wall or surface where you'll mount the board, ensuring it's free of dust and debris for ideal adhesion.
- Mount the Board: Affix the magnetic board to the wall using either adhesive strips or screws, depending on your preference and the weight of the board.
Once installed, you can easily change out photos as often as you like, fostering a dynamic display that reflects your evolving story and invites others to share in your journey.
Versatile Display Options
How can you make your magnetic photo board truly stand out? One effective way is by integrating a variety of display options that enhance the overall aesthetic and functionality.
Start by selecting a color palette that resonates with your personal style, creating a cohesive backdrop that complements your photos. You might choose a neutral base with pops of color, or even a monochromatic scheme that emphasizes the images themselves.
Consider arranging your photos in clusters, allowing for a dynamic layout that draws the eye. Incorporate different sizes and orientations, mixing vertical and horizontal images for visual interest; this approach creates a vibrant tapestry of memories.
You could also highlight special moments by surrounding them with decorative magnets or small trinkets that reflect your personality, further establishing a sense of belonging.
Moreover, think about rotating your displayed images periodically, keeping the board fresh and inviting. This not only showcases new memories but also engages family and friends, inviting them to share in your experiences.
Ultimately, your magnetic photo board should serve as a personal gallery, celebrating your journey while fostering connections with those who matter most.
Fun Customization Ideas
To truly make your magnetic photo board a reflection of your personality, immerse yourself in some fun customization ideas that can elevate its charm. This approach not only personalizes your space but also fosters a sense of belonging among friends and family.
Here are four creative customization ideas to inspire you:
- Photo Magnets: Transform your favorite snapshots into magnets. You can easily print photos on adhesive magnetic sheets, allowing you to swap images whenever you like, keeping your display fresh and engaging.
- Themed Collections: Curate a theme for your board, such as travel, family, or seasonal events. This adds a cohesive aesthetic, inviting viewers to appreciate your journey and experiences.
- Colorful Backgrounds: Use vibrant paper or fabric as a backdrop to enhance the visual appeal. Choose colors that complement your photos, creating a harmonious environment that draws attention.
- Quotes and Messages: Incorporate inspiring quotes or personal messages on small magnetic boards, adding depth to your display. These can resonate with guests, inviting conversation and connection.
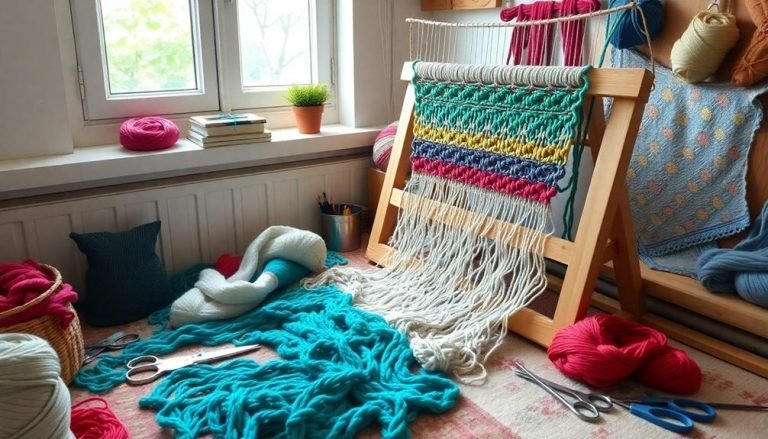
Fabric Photo Hangings
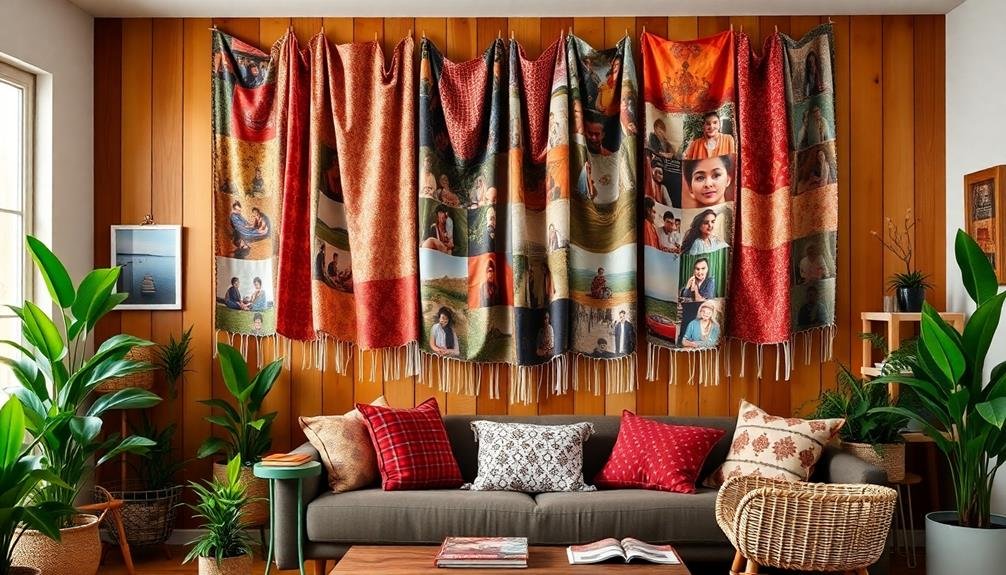
Fabric photo hangings offer a unique and versatile way to showcase your favorite memories without the constraints of traditional frames. By using various textiles, you can create an inviting and personal atmosphere that reflects your identity and experiences. Consider selecting fabrics that complement your home's color palette; vibrant patterns or muted tones can both contribute to a cohesive aesthetic.
To further inspire your creativity, here's a table summarizing different fabric photo hanging ideas:
| Fabric Type | Hanging Method | Display Style |
|---|---|---|
| Canvas | Wooden Dowels | Tapestry-like |
| Burlap | Clips and Twine | Rustic Charm |
| Felt | Magnetic Strips | Modern Minimalism |
| Linen | String Lights | Cozy, Warm Ambiance |
| Velvet | Decorative Hooks | Luxurious Touch |
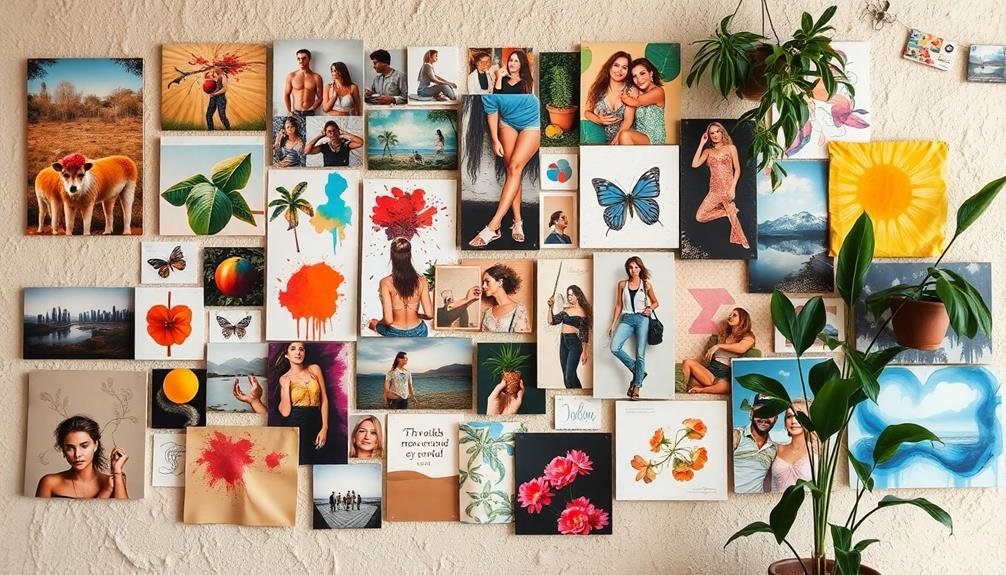
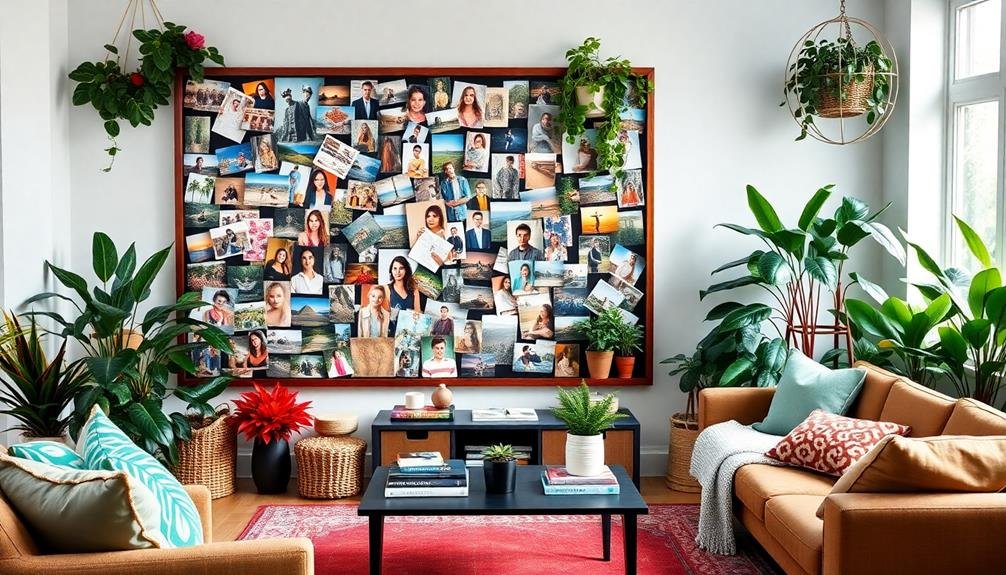
DIY Photo Collage
Creating a DIY photo collage is a fantastic way to display your cherished moments and add a personal touch to your space. This creative endeavor not only allows you to showcase your memories but also fosters a sense of belonging as you curate images that resonate with you and your loved ones.
To effectively design your collage, consider following these essential steps:
- Select Your Photos: Choose images that evoke memories, whether they're family gatherings, vacations, or candid moments with friends.
- Determine Layout: Decide on a layout that complements your wall space, such as a grid pattern, an organic shape, or a themed arrangement.
- Gather Materials: Collect necessary supplies, including adhesive, poster boards, or canvas, and any decorative elements like stickers or washi tape to enhance the visual appeal.
- Assemble and Display: Begin arranging your photos, ensuring a balanced composition that draws the eye. Once satisfied, secure them in place and hang your masterpiece proudly.
Engaging in this project not only beautifies your environment but also strengthens connections with those who share in your memories.
Frequently Asked Questions
What Materials Are Best for Hanging Photos Without Frames?
When hanging photos without frames, you'll find that adhesive strips, washi tape, or clipboards work best. These materials let you showcase your memories creatively, making your space feel warm and inviting to everyone who visits.
How Can I Change Photos Easily in These Displays?
You can change photos easily by using clips or magnetic strips. These allow you to swap images in seconds without hassle. Just choose your favorite moments, and keep your display fresh and inviting!
Are There Specific Wall Types to Avoid for Photo Arrangements?
Ever wondered which wall types could ruin your photo display? Avoid textured or uneven surfaces, as they can distort your arrangement. Smooth, flat walls are ideal, helping your cherished memories shine and create a welcoming atmosphere.
How Do I Protect My Photos From Fading Over Time?
To protect your photos from fading, keep them out of direct sunlight, use UV-protective glass if framing, and store them in acid-free materials. Regularly check their condition, and you'll guarantee lasting memories for years.
Can I Mix Different Photo Display Ideas in One Space?
Absolutely, you can mix different photo display ideas in one space! Combining various styles adds character and personal touch, making your wall feel more inviting and uniquely yours. Just make sure they complement each other harmoniously.
Whats Next
Incorporating these seven no-frame photo wall ideas can dramatically transform your living space into a personalized gallery, reflecting your unique experiences and aesthetic preferences. Curiously, studies reveal that well-curated visual environments can enhance mood and creativity by up to 25%. By utilizing simple materials such as clips, washi tape, or wooden pallets, you can easily create dynamic displays that are both visually appealing and easily adaptable, ensuring your cherished memories remain a vibrant part of your home decor.