
Imagine a wall that breathes life into your memories, showcasing them in a way that feels both personal and innovative. You might be surprised at how easy it is to transform your space with frameless displays that add character without clutter. From playful washi tape galleries to rustic wooden clipboards, each idea offers a unique perspective on your cherished moments. What if you could create a visual story that reflects your style while remaining effortlessly chic? The possibilities are endless, and each option invites you to rethink traditional decor.
Key Elements
- Washi Tape Gallery: Use colorful washi tape to create a vibrant, frameless display of photos directly on the wall for a playful touch.
- Clothesline Photo Display: Hang photos on twine with clothespins for a charming, casual gallery effect that's easy to update.
- Magnetic Photo Wall: Utilize a magnetic surface to easily rearrange and showcase photos, allowing for seasonal themes and fresh displays.
- Canvas Photo Collage: Arrange multiple canvases of different sizes on the wall to create an artistic, frameless display that tells a story.
- Decorative Wall Grids: Use wooden or metal grids to organize and display photos without frames, creating a modern and cohesive look.
Washi Tape Gallery
Creating a Washi Tape Gallery is a fun and simple way to showcase your favorite photos without the need for frames. You can easily transform a blank wall into a vibrant display, allowing your cherished memories to shine through.
Start by selecting a variety of washi tape colors and patterns that resonate with your personal style, whether that's bold geometric designs or soft floral motifs.
Next, choose the photos you want to feature, ensuring they represent moments that matter to you—family gatherings, travel adventures, or candid snapshots with friends. Arrange the photos on the wall in a visually appealing layout, perhaps in a grid or a more organic cluster. Use the washi tape to secure each photo, creating a border that not only enhances the image but also adds an element of creativity.
Consider incorporating decorative elements like quotes or small artworks within the gallery to further personalize the space. This DIY approach not only reflects your unique aesthetic but also fosters a sense of belonging, inviting others to engage with your story through shared memories.
With a few simple supplies, you can create a dynamic and inviting gallery that speaks to who you are.
Clothesline Photo Display
Creating a clothesline photo display can add a charming and personal touch to your space without requiring a lot of effort.
You'll need some basic materials like twine, clothespins, and a few photos to get started, and once you have everything in place, arranging the photos in a creative manner can transform your wall into a unique gallery.
Consider varying the lengths of the twine and the arrangement of the images for visual interest, allowing your memories to become an integral part of your decor.
Materials You'll Need
To set up a clothesline photo display, you'll need just a few essential materials. Start with a length of sturdy twine or wire, which will serve as the backbone of your display; make sure it's long enough to accommodate the number of photos you plan to showcase.
You'll also need a selection of clothespins or clips, as these will hold your photos securely while adding a charming touch to the overall design. Consider using decorative clips to enhance the visual appeal and personalize your display.
Next, gather a few pushpins or adhesive hooks, which will be essential for mounting the twine or wire to your wall without causing damage. You might also want to have a pair of scissors on hand to trim your twine to the desired length.
Finally, select the photographs you wish to display—these can be cherished memories with friends and family, inspiring quotes, or even artwork that resonates with you, creating a sense of belonging and connection.
Creative Arrangement Tips
Once you've gathered your materials, it's time to think about how to arrange your photos for maximum impact. A clothesline photo display offers a charming, casual way to showcase your memories while fostering a sense of connection. To begin, choose a wall that invites attention, then decide on the length of your line; this will determine how many photos you can display without overcrowding.
Consider using a combination of varying photo sizes, orientations, and colors to create visual interest. You might want to arrange them in a way that tells a story, guiding the viewer through your visual narrative. Here's a simple table to help you conceptualize your arrangement:
| Photo Size | Orientation | Suggested Theme |
|---|---|---|
| Small | Landscape | Travel Adventures |
| Medium | Portrait | Family Moments |
| Large | Landscape | Special Events |
| Small | Portrait | Friends & Fun |
| Medium | Landscape | Nature Escapes |
Each photo should feel like a piece of your life, contributing to a collective narrative that resonates with visitors. Make sure that the arrangement feels balanced, allowing the viewer to experience a sense of belonging as they engage with your displayed memories.
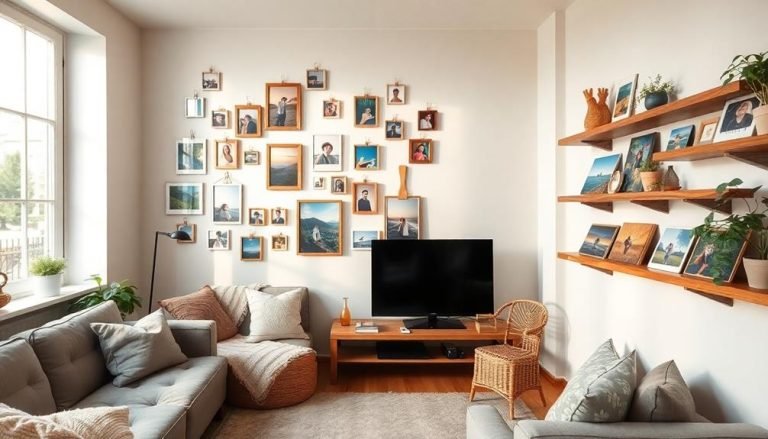
Wooden Clipboards
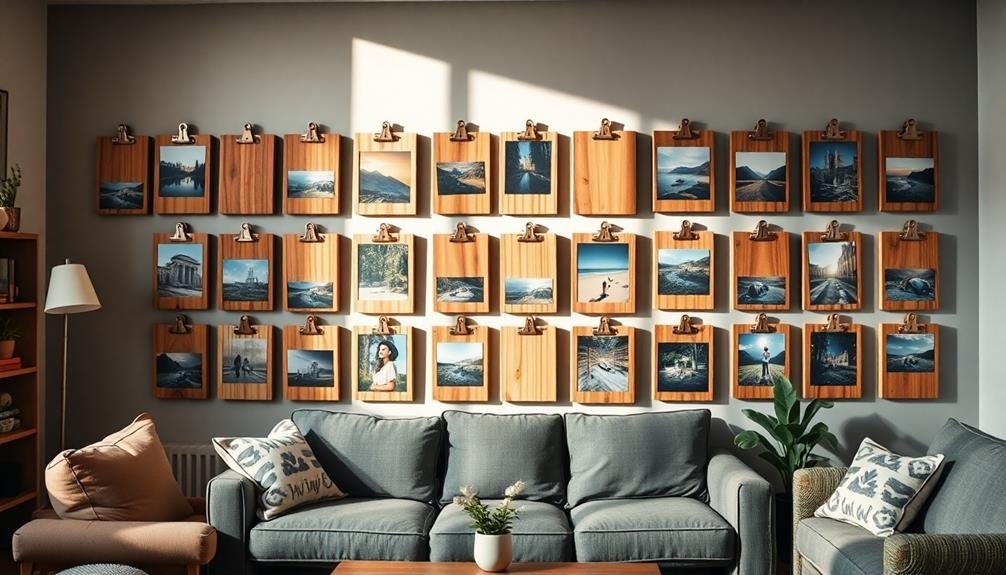
Wooden clipboards offer a versatile display option for showcasing your favorite photographs, allowing you to easily change images whenever you desire.
Their rustic aesthetic appeal not only complements various decor styles but also adds a touch of warmth and character to your space.
Versatile Display Options
For those looking to add a touch of creativity to their photo wall, wooden clipboards offer a versatile display option that's both functional and stylish.
These clipboards can serve as a unique canvas for showcasing your cherished memories, allowing you to effortlessly combine art and personal expression. You can arrange multiple clipboards in an asymmetrical pattern, creating a dynamic visual experience that invites conversation and connection among family and friends.
Consider using different sizes and finishes of wooden clipboards to enhance the aesthetic appeal of your display, lending depth and texture to the overall composition.
You might choose natural wood tones for a rustic charm or painted clipboards for a pop of color that complements your existing decor. As you curate your collection of photos, think about incorporating various themes, such as travel adventures or family milestones, to tell a cohesive story that resonates with your audience.
Easy Photo Changes
Adding to the charm of wooden clipboards, one of their greatest advantages is how easily you can swap out photos. This flexibility allows you to curate a dynamic display that reflects your evolving experiences and memories. Whether it's celebrating birthdays, vacations, or everyday moments, you can change the images to keep your wall fresh and inviting.
To illustrate some creative ideas for using wooden clipboards in your display, consider the following options:
| Idea | Description |
|---|---|
| Seasonal Themes | Rotate photos based on holidays or seasons, such as autumn leaves or winter festivities. |
| Monthly Highlights | Showcase a new photo each month, capturing key moments that represent your life's journey. |
| Family Showcase | Highlight a different family member each week, allowing everyone to feel connected and valued. |
With such simplicity, you can keep your photo wall vibrant and personal, allowing for a continuous narrative of your life. The wooden clipboards not only serve as a practical display method but also foster a sense of belonging as you share your cherished moments with others.
Rustic Aesthetic Appeal
The rustic aesthetic of wooden clipboards brings a warm, inviting touch to any photo wall display. These versatile pieces not only serve as practical holders for your cherished images but also add a sense of character to your space.
By selecting clipboards crafted from reclaimed wood, you're embracing sustainability while infusing your display with unique textures and colors that reflect your personal style.
Positioning these clipboards in an organized yet visually appealing arrangement allows you to showcase your favorite memories, from family gatherings to travel adventures.
Consider using twine or decorative clips to attach your photos, enhancing the rustic charm further. You might choose to paint or stain the clipboards in soft, muted hues to complement your existing decor, fostering a cohesive look that invites warmth and belonging.
Incorporating wooden clipboards into your photo wall not only elevates the visual interest but also creates a gallery-like atmosphere, encouraging storytelling through images.
This approach fosters a sense of connection, as each photo tells a story, bridging the gap between the past and the present. Embrace this rustic aesthetic to cultivate an inviting environment that reflects who you're and the memories you cherish.
Magnetic Photo Wall
A magnetic photo wall transforms your space into a dynamic gallery where memories can be easily showcased and updated. Imagine a sleek, metallic surface that allows you to arrange and rearrange your favorite photographs, art prints, or even notes on a whim. This interactive display fosters a sense of belonging, as it invites you and your loved ones to contribute personal touches that reflect your unique stories and experiences.
To create this engaging atmosphere, start with a large magnetic board or paint an entire wall with magnetic paint, which serves as a versatile backdrop. Select a range of magnets—some decorative, others purely functional—that suit your style. Consider using different sizes and shapes to create visual interest, perhaps combining vibrant colors with subtle metallics for a sophisticated effect.
As you curate your collection, think about seasonal themes or milestones, allowing your magnetic wall to evolve alongside your life. This adaptability not only keeps your space feeling fresh but also encourages conversation and connection among family and friends, as they admire the evolving display of cherished memories.
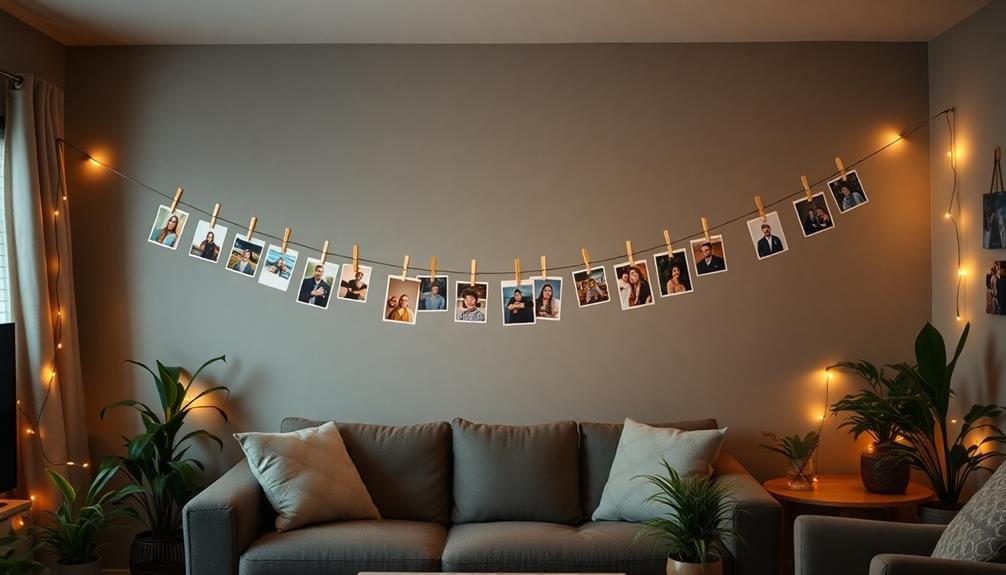
String Lights and Photos
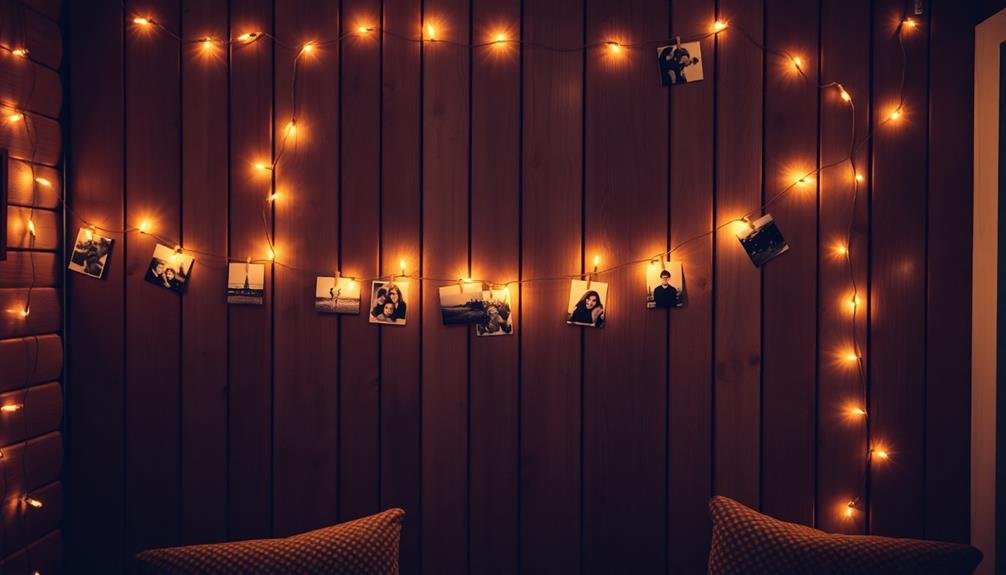
String lights combined with photos create a magical ambiance that brightens up any room while showcasing your favorite memories. By draping string lights across a wall or around a corkboard, you can effortlessly transform your space into a warm, inviting haven that reflects your personality and experiences.
To achieve this look, consider using fairy lights or LED strip lights, as they offer versatility in brightness and color, allowing for customization based on your mood or occasion. Incorporating warm colors and seasonal accents into your display can further enhance the cozy vibe, making it even more inviting during winter months.
Begin by selecting a series of cherished photographs that resonate with you—these images might represent family gatherings, travel adventures, or milestones that hold special significance. Next, clip or pin these photographs along the string lights, ensuring a balanced mix for visual appeal. You could also incorporate decorative elements like dried flowers or small ornaments to enhance the overall aesthetic.
Positioning your display above a bed, desk, or sofa instantly creates a cozy atmosphere, encouraging relaxation and a sense of belonging. Additionally, consider using dimmable string lights to adjust the lighting to your liking, making it perfect for both intimate gatherings and quiet evenings at home.
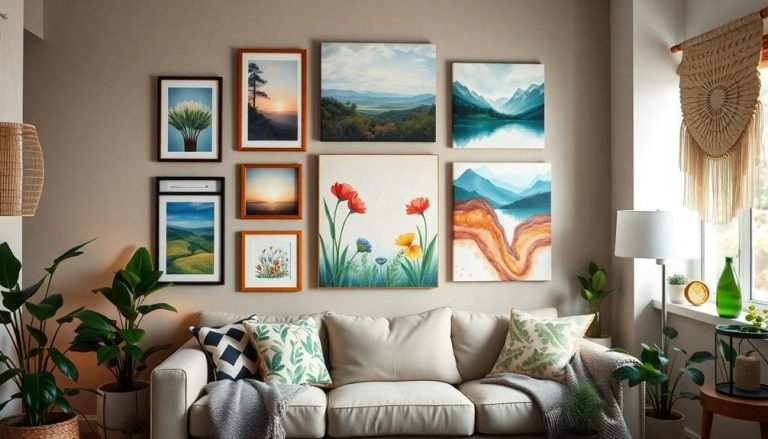
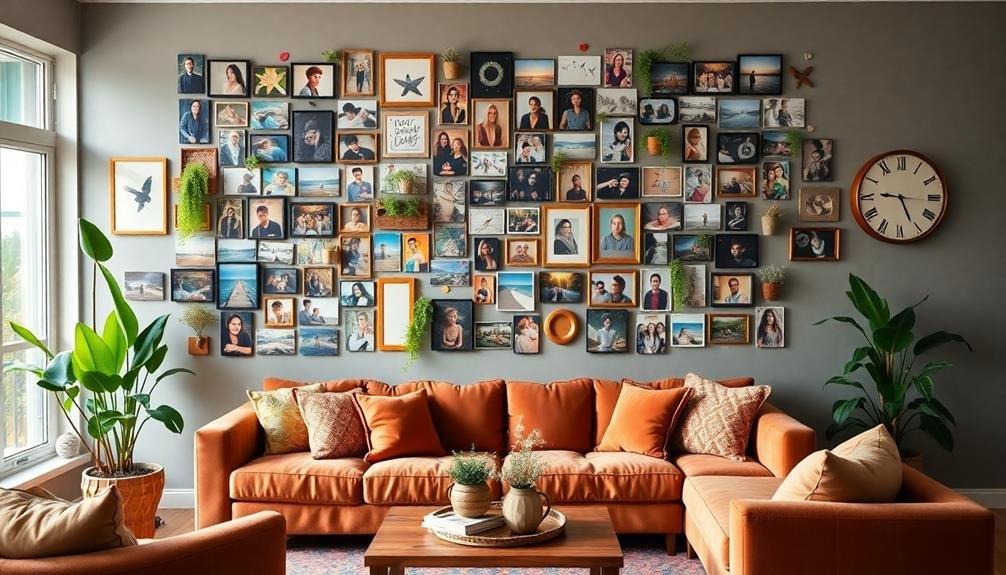
Canvas Photo Collage
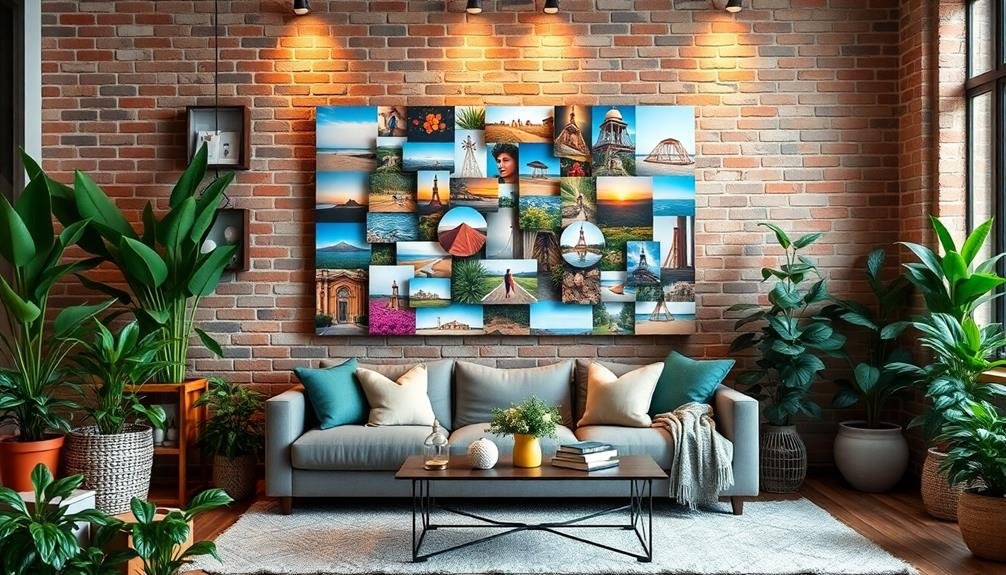
Creating a canvas photo collage offers a unique way to showcase your favorite memories, and it starts with choosing the right canvas sizes that will complement your space.
As you consider various layouts and arrangements, think about how the placement and scale of each canvas can create a cohesive visual narrative that draws the eye and tells a story.
Whether you opt for a symmetrical grid or a more organic freeform design, these choices will greatly impact the overall aesthetic of your wall display.
Choosing Canvas Sizes
When it comes to choosing canvas sizes for your photo collage, it's essential to contemplate the overall impact you want to achieve. The dimensions you select can greatly influence how your memories resonate within your space. Larger canvases can serve as striking focal points, while smaller sizes can create a more intimate, layered effect. Consider the wall space available and how you envision the arrangement of your photos.
Here's a helpful guide to canvas sizes you might consider for your display:
| Canvas Size | Ideal Use |
|---|---|
| 12" x 12" | Great for close-up portraits or small groups |
| 16" x 20" | Perfect for family gatherings or events |
| 20" x 24" | Excellent for landscapes or detailed shots |
| 24" x 36" | Ideal for dramatic scenes or artistic displays |
| 30" x 40" | Perfect for impactful statements or artwork |
Layout and Arrangement Tips
Choosing the right canvas sizes sets the stage for your photo collage, but how you arrange those canvases is just as important. A well-thought-out layout enhances the visual impact of your artwork, creating a cohesive story that draws viewers in and fosters a sense of belonging.
To achieve this, consider the following tips for an effective arrangement:
- Balance and Symmetry: Aim for a harmonious distribution of visual weight. Symmetrical arrangements can evoke a sense of order, while asymmetrical setups offer a more dynamic feel.
- Theme Consistency: Confirm that your canvases complement each other thematically, whether through color schemes, subject matter, or emotional resonance. This connection strengthens the overall narrative.
- Spacing Matters: Pay attention to the spacing between canvases. Consistent margins provide clarity and organization, while varied spacing can create an intriguing flow that invites exploration.
Photo Ledge Wonders
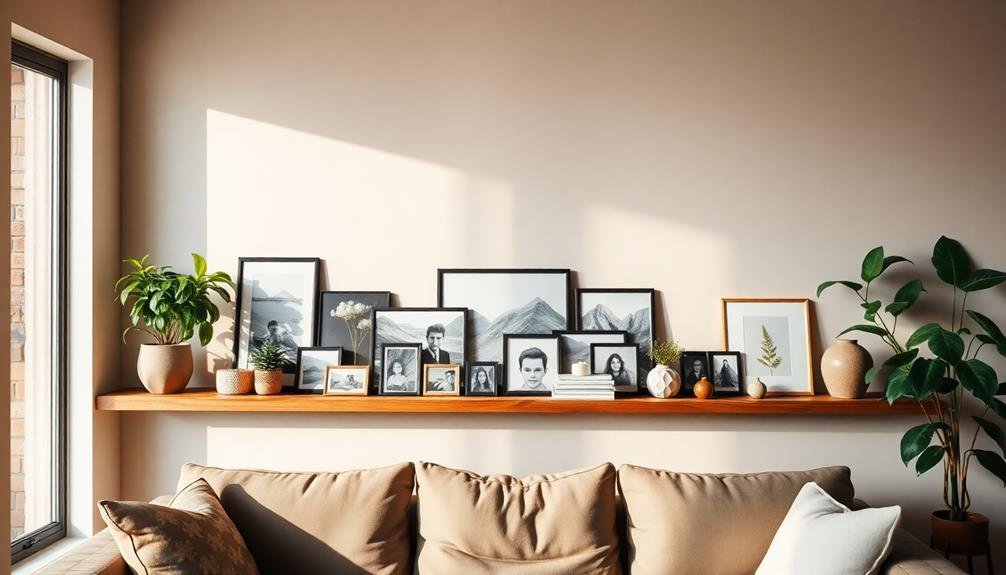
A photo ledge can transform your wall into a dynamic gallery that showcases your favorite memories. By installing a simple shelf, you create an inviting space to display an array of photos, artwork, and treasured mementos, allowing for a personalized touch that reflects your unique identity.
Choose a ledge that complements your decor style—whether sleek and modern or rustic and charming—to enhance the overall aesthetic of your room.
Arranging your photos on the ledge can be both an art and a science; consider varying the frame sizes and orientations to create visual interest, while maintaining a cohesive color scheme to unify the display. You might combine family portraits with candid shots from adventures, or mix in small plants and decorative objects to create layers that draw the eye.
For added depth, consider positioning the ledge at eye level, ensuring your collection is easily accessible and inviting for guests to explore. This simple yet effective display method encourages interaction and connection, allowing you to share your story with others while fostering a sense of belonging in your space.
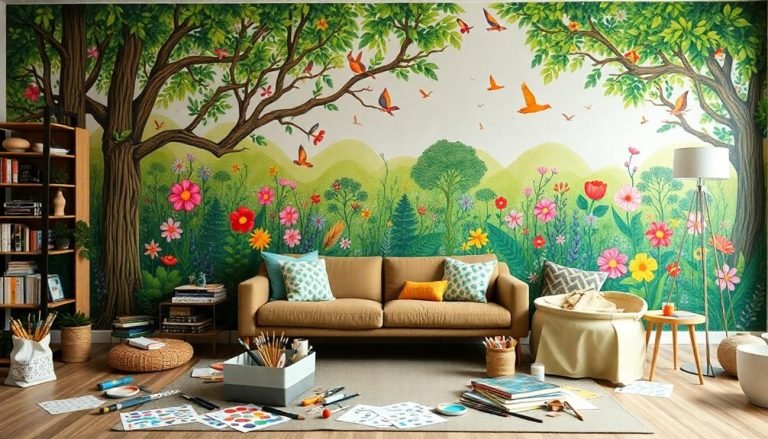
DIY Wall Decals
Expanding your photo display options can lead to exciting ways to personalize your walls, and DIY wall decals are a fantastic choice.
These decals not only allow you to showcase your favorite memories but also enable you to create a cohesive theme that reflects your personality.
With a plethora of materials available, you can easily design decals that complement your photos, enhancing the overall aesthetic of your space.
Consider incorporating the following elements into your DIY wall decal project:
- Custom Quotes: Add meaningful phrases that resonate with you and your family, creating a warm atmosphere.
- Shapes and Patterns: Use geometric designs or floral motifs to frame your photos, adding visual interest and depth.
- Color Coordination: Match your decals with your wall color or photo frames to create a harmonious look.
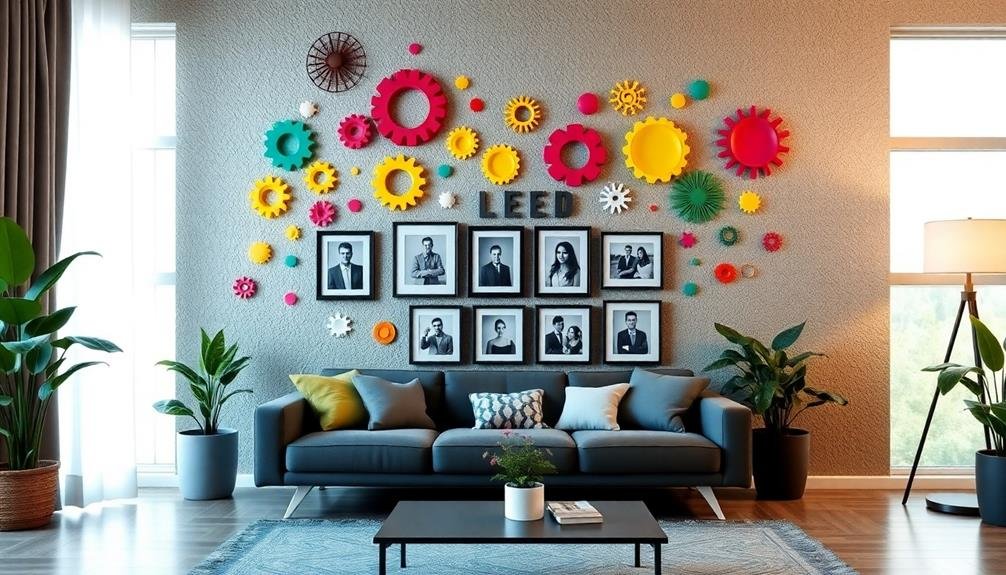
Decorative Wall Grids
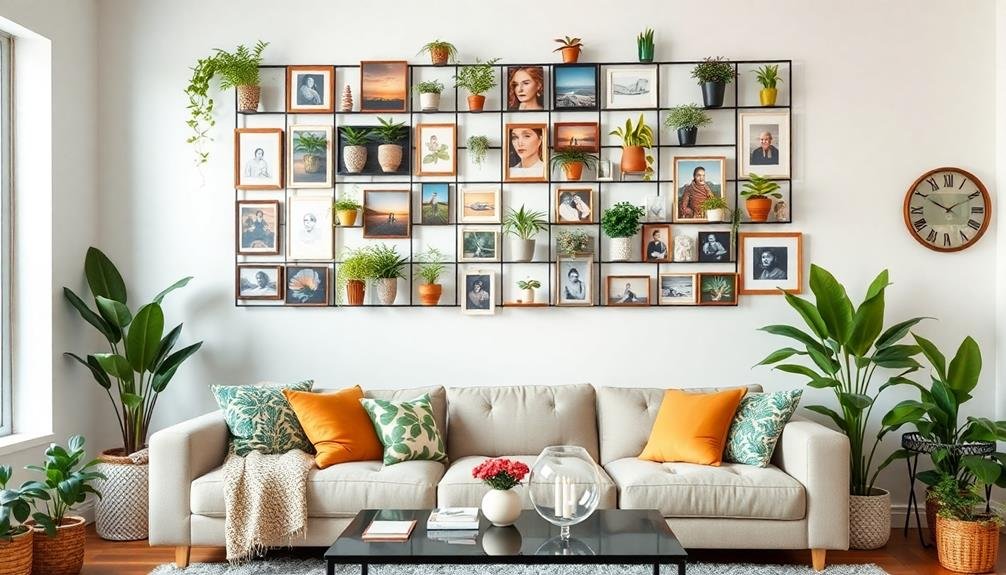
Decorative wall grids can transform your photo display into an eye-catching focal point in any room. These versatile structures, often made from wood, metal, or wire, allow you to showcase your cherished memories in a way that feels both organized and artistic. By arranging your photos within the grid, you create a cohesive look that enhances your space, while also inviting a sense of connection and storytelling.
Incorporating elements like decorative throw pillows or wall art prints can complement your grid and elevate the overall decor.
To craft an engaging display, start by selecting a grid style that complements your room's aesthetic; whether you prefer a rustic wooden frame or a sleek metallic design, the choice sets the tone. Next, choose a mix of photos, artwork, and decorative elements, ensuring a balanced composition. As you place each piece, consider varying the sizes and orientations, which adds visual interest and depth to your arrangement.
Once your grid is adorned with personal touches, you'll notice how it not only elevates the decor but also fosters a sense of belonging, as it encapsulates your unique experiences and relationships.
Recycled Materials Art
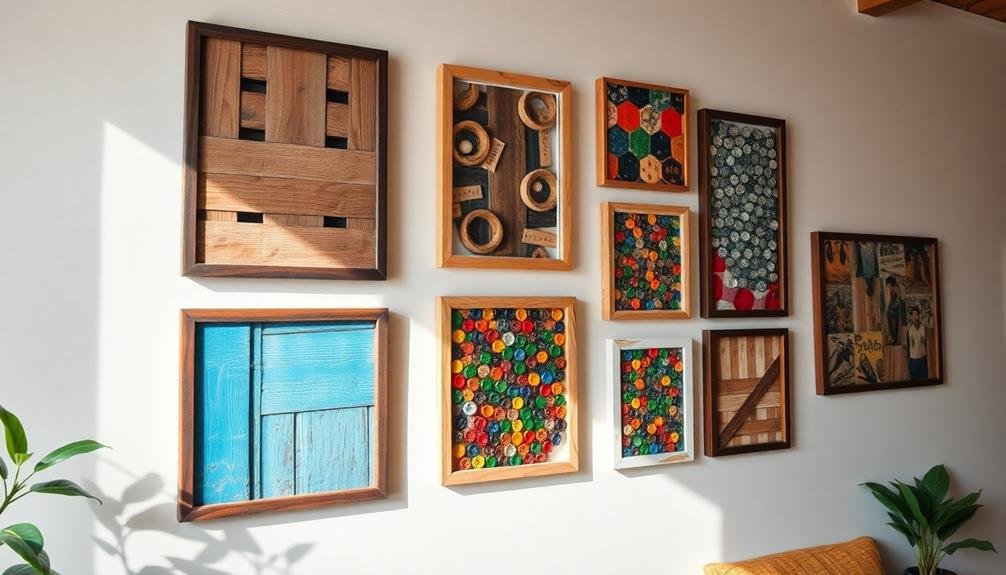
Using recycled materials for your photo wall display not only showcases your creativity but also promotes sustainability.
By incorporating everyday items that might otherwise end up in a landfill, you can create a unique and meaningful display that reflects your values and style. This approach invites a sense of belonging, as each piece tells a story, connecting you to your past while beautifying your space.
Consider these ideas to enhance your photo wall using recycled materials:
- Old Frames: Refurbish mismatched frames by painting them in a uniform color or leaving them rustic for an eclectic charm.
- Bottle Caps: Use colorful bottle caps to create a vibrant collage that frames your photos, adding a touch of whimsy to your display.
- Cardboard or Paper: Cut out interesting shapes from recycled cardboard or paper and attach your photos, giving depth and texture to your arrangement.
Frequently Asked Questions
What Are the Best Locations for a Photo Wall Display?
You'll want to choose locations that resonate with your daily life—like your living room, hallway, or home office. These spaces invite connection and warmth, making your photo wall a cherished focal point for everyone.
How Can I Change Photos Easily in My Display?
To change photos easily, use clipboards or magnetic frames. You can swap out images in seconds, keeping your display fresh and inviting. It's a fun way to reflect your evolving memories and style!
What Tools Do I Need for Creating a Photo Wall?
What tools do you need for a photo wall? You'll want adhesive strips, a level, scissors, and perhaps a tape measure. These simple items help you create a space that truly reflects your memories and connections.
Are There Specific Photo Sizes That Work Best?
When creating a photo wall, you'll find that various sizes create visual interest. Mixing small and large photos can enhance the display. Experiment with square, rectangular, and panoramic shapes to showcase your memories beautifully.
How Do I Prevent Damage to My Walls During Installation?
To prevent damage during installation, use removable adhesive strips or hooks. They're easy to apply and won't harm your walls. Make sure you follow the instructions carefully for the best results and a clean finish.
Whats Next
Incorporating these creative frameless photo display ideas into your space is like weaving a tapestry of memories, where each image contributes to the larger narrative of your life. Whether you choose the playful charm of washi tape or the rustic elegance of wooden clipboards, you can transform your walls into a personal gallery that evolves with you. By embracing these innovative approaches, you not only enhance your decor but also invite your cherished moments to take center stage.