You can enhance your home with three straightforward DIY farmhouse shiplap decor projects: a shiplap accent wall, rustic shelves, and an elegant picture frame. For the accent wall, measure your space, mark guidelines, and use a nail gun for installation, choosing colors like classic white or muted pastels to create warmth. Construct rustic shelves by selecting quality boards, positioning them at eye level, and anchoring brackets into studs for safety. Finally, craft a picture frame by cutting shiplap to size, assembling it with wood glue, and applying a protective sealant for longevity. Each project offers a unique charm, and there's more to explore.
Key Elements
- Create a shiplap accent wall for a cozy farmhouse vibe by measuring your wall and using a nail gun for installation.
- Build rustic shiplap shelves to add charm and functionality, ensuring they are positioned at eye level for optimal visibility.
- Craft a shiplap picture frame with high-quality boards, assembling with wood glue for a stylish display of your favorite photos.
- Choose classic white or muted pastel colors for a fresh look, or opt for rich stained finishes to enhance the wood's natural beauty.
- Always securely anchor shelves with sturdy brackets into studs for safety and durability in your home decor projects.
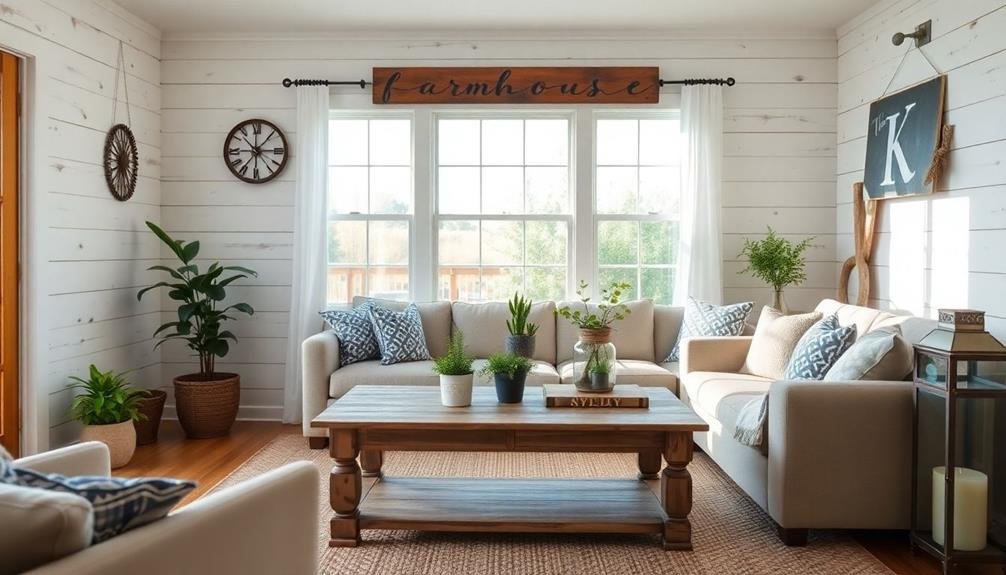
Shiplap Accent Wall
A shiplap accent wall can transform any room into a cozy farmhouse haven. When you're ready to initiate this DIY project, consider essential shiplap installation tips to guarantee a polished finish.
Begin by measuring your wall carefully to determine how many panels you'll need, and always account for any outlets or light switches. Using a level, mark your guidelines to maintain straight lines, as precision is paramount in achieving a professional look.
As for shiplap color ideas, you can opt for classic white for a timeless appeal, or experiment with muted pastels like soft blue or sage green for a touch of modernity. If you're feeling adventurous, consider dark hues like charcoal or navy to create a bold statement, contrasting beautifully with lighter furnishings.
Once you've selected your color scheme, prepare the surface by cleaning and priming, guaranteeing ideal adhesion.
When installing, use a nail gun for efficiency and secure each panel snugly, checking for alignment as you go. Finally, finish with caulk along the seams for a seamless appearance.
Rustic Shiplap Shelves
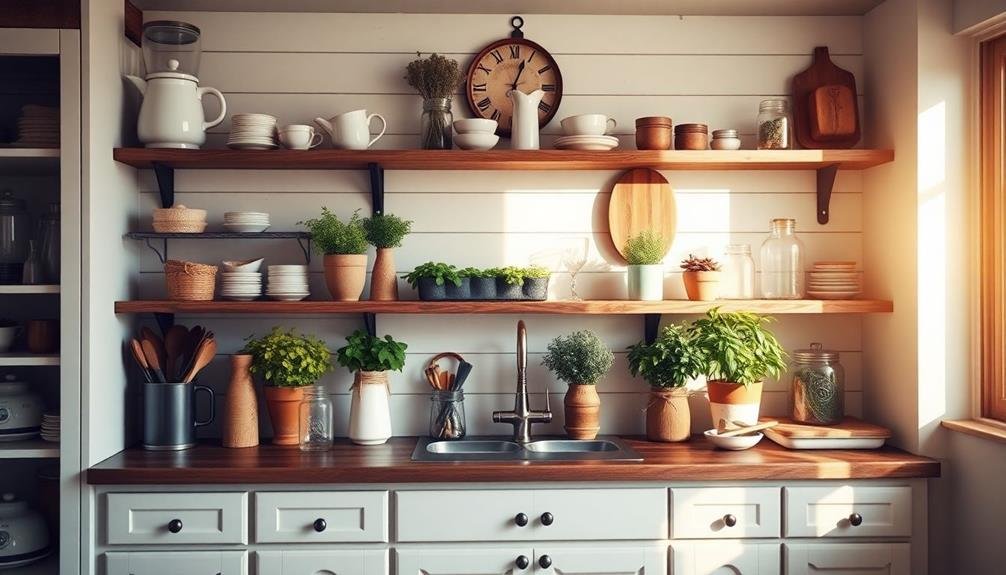
Creating rustic shiplap shelves adds both functionality and charm to any room in your home. These shelves not only provide a practical space for displaying decor or storing essentials, but they also evoke a timeless aesthetic that complements various design styles.
When starting on this project, consider the shelf placement carefully; positioning your shelves at eye level allows for best visibility and enhances the room's overall flow.
Begin by selecting high-quality shiplap boards, ensuring they're free of imperfections. Once you've cut them to your desired lengths, consider employing wood staining techniques to enrich the natural beauty of the wood. A rich walnut or a weathered gray can accentuate the rustic feel while offering a durable finish.
When attaching your shelves to the wall, use sturdy brackets that can support significant weight, ensuring they're anchored securely into the studs. This method not only enhances safety but also allows for a seamless integration into your design scheme.
Shiplap Picture Frame
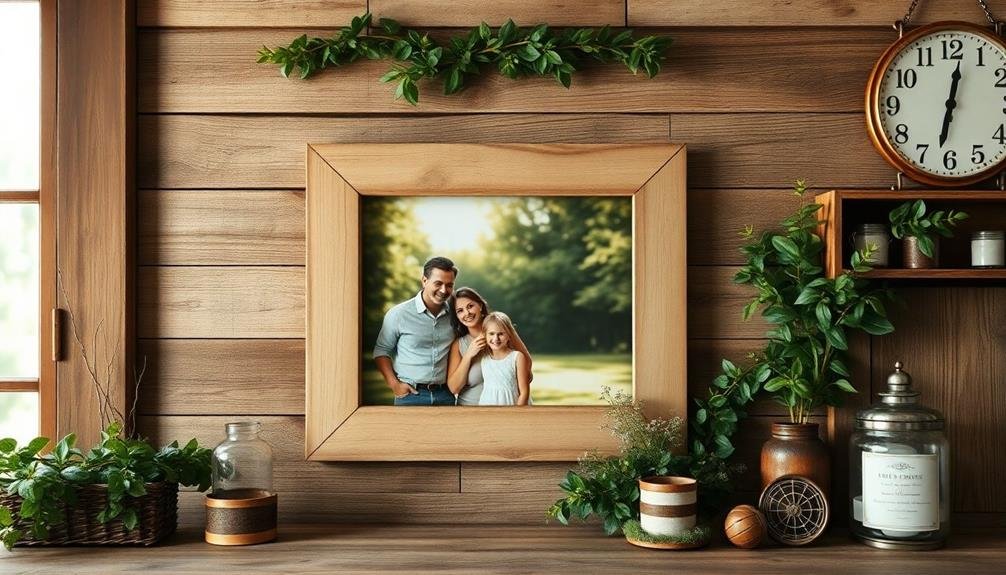
For a charming touch to your home decor, consider crafting a shiplap picture frame that beautifully showcases your favorite memories. This project not only enhances your living space but also embraces the essence of farmhouse style, which emphasizes warmth and simplicity.
Begin by selecting high-quality shiplap boards, ensuring they're cut to the desired dimensions for your frame; typically, a rectangular shape works best. Assemble the boards using wood glue and clamps to create a sturdy structure, allowing the glue to dry completely.
Once your frame is assembled, you can enhance its aesthetic by lightly sanding the surface to achieve a distressed look, reminiscent of weathered wood found in traditional farmhouses.
A coat of white or off-white paint brings out the shiplap's natural beauty while maintaining a clean, classic appearance. After painting, consider adding a protective sealant to preserve the finish.
Frequently Asked Questions
What Tools Do I Need for Shiplap Projects?
For shiplap installation, you'll need a miter saw, nail gun, level, and measuring tape. Explore various shiplap styles to enhance your project. These tools will help you achieve professional-looking results effortlessly in your DIY endeavors.
Can I Use Plywood Instead of Real Shiplap?
Did you know over 60% of DIYers prefer plywood for its cost-effectiveness? You can absolutely use plywood instead of shiplap. Its advantages include durability and versatility, making it a fantastic shiplap alternative for your projects.
How Do I Finish Shiplap for a Polished Look?
To achieve a polished look, you'll want to explore shiplap finishing techniques like sanding and staining. Consider various shiplap texture options, such as smooth or distressed, to create the perfect aesthetic for your space.
What Type of Paint Works Best on Shiplap?
You're probably wondering what type of paint really brings shiplap to life. For a polished finish, acrylic latex works wonders. Master the paint application techniques, and you'll transform your shiplap into a stunning focal point.
How Can I Create a Shiplap Look on a Budget?
You can create a shiplap look on a budget by using affordable materials like plywood or MDF. Employ creative techniques such as painting or staining to mimic the rustic charm without overspending. Your project will shine!
Whats Next
As you commence on these three enchanting DIY farmhouse shiplap projects, you'll not only transform your space but also cultivate a sense of accomplishment that lingers long after you've put down your tools. Imagine the satisfying contrast of rustic wood against your walls, the charming shelves brimming with decor, and the personalized picture frame capturing unforgettable moments. Each project beckons, promising to enhance your home's character and inviting warmth—are you ready to take the plunge into this rewarding endeavor?