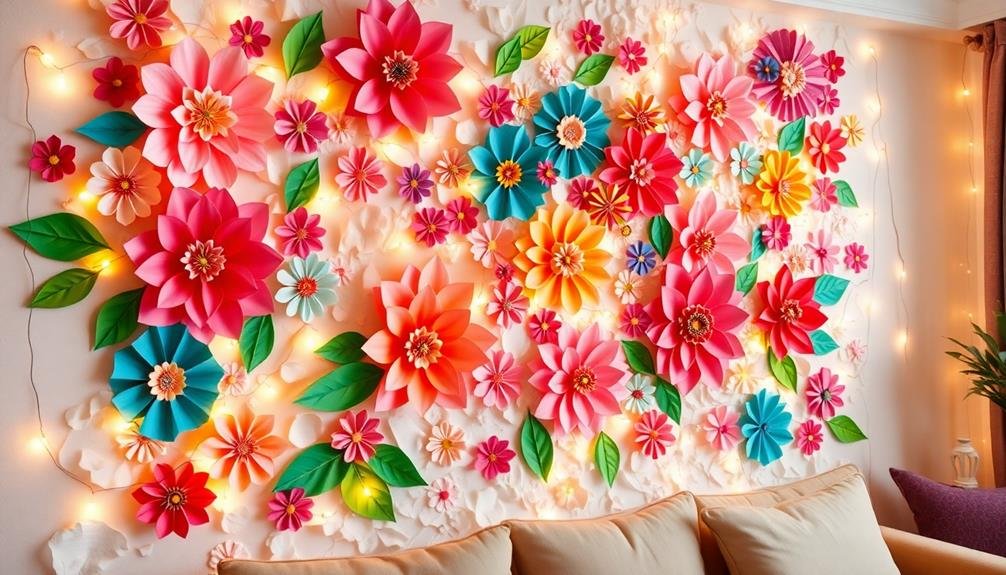
Creating DIY 3D wall art offers a delightful way to express your creativity without the complexities of professional art. You might think that crafting intricate designs is beyond your skill set, but it's surprisingly attainable with the right approach. By selecting the right materials and choosing a design that speaks to you, you can transform simple shapes into an eye-catching focal point for your space. Curious about the essential steps and tips that can elevate your project? Let's explore how you can turn your ideas into tangible art.
Key Elements
- Gather essential materials like sturdy bases, crafting papers, adhesives, and embellishments to start your 3D wall art project.
- Choose a design theme that resonates with you, such as nature or geometric patterns, and sketch your ideas for spatial fit.
- Cut out your design shapes from chosen materials and assemble them in layers to create depth and visual interest.
- Personalize your artwork by selecting a complementary color palette and unique embellishments that reflect your individual style.
- Display your finished pieces thoughtfully, considering scale, lighting, and integration with existing decor for a cohesive look.
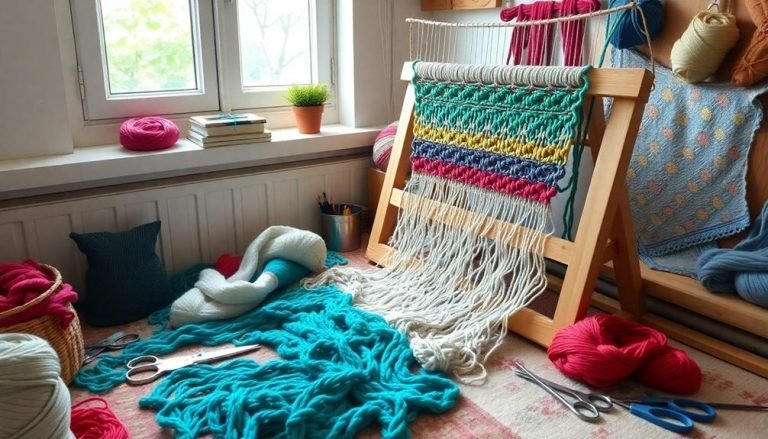
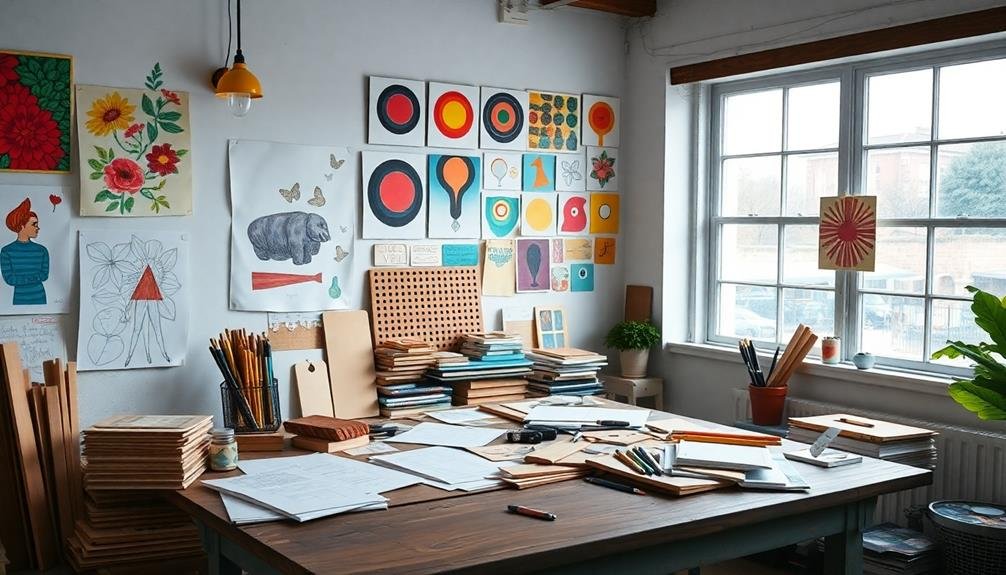
Materials You'll Need
To create stunning DIY 3D wall art, you'll need a few essential materials that will bring your vision to life.
Start with a sturdy base; foam board or plywood works well, providing a solid foundation for your artwork. Next, gather various crafting papers, such as cardstock or textured scrapbook paper, to add depth and dimension to your design.
Don't forget about adhesives; a hot glue gun or craft glue will guarantee that your elements stay securely in place. Incorporate embellishments like wooden shapes, beads, or even fabric pieces to enhance the visual interest of your piece.
Scissors and a craft knife will allow you to precisely cut your materials, giving you the control needed for intricate designs. For those wanting to add color, acrylic paints or spray paint can transform even the simplest items into vibrant focal points.
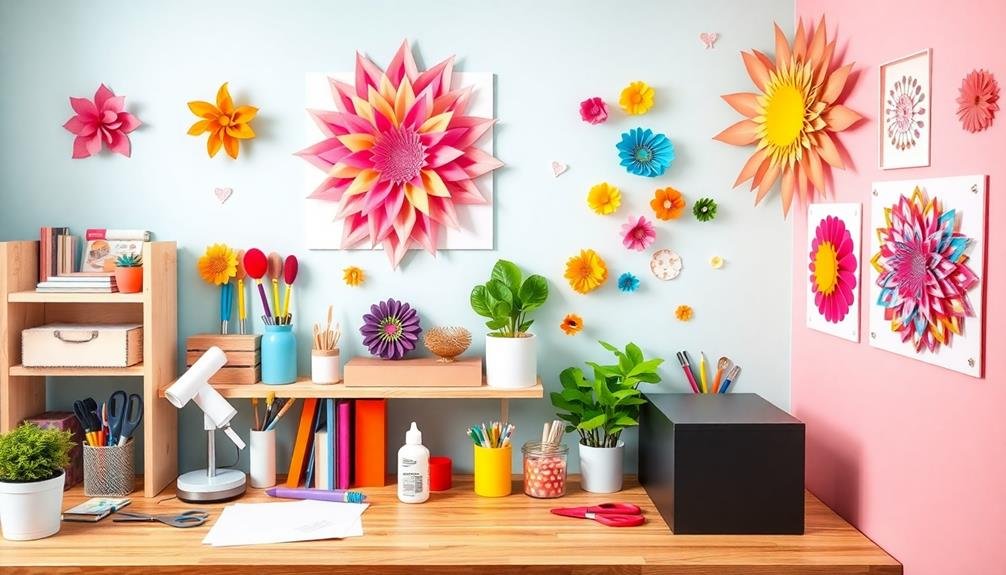
Choosing Your Design
Choosing your design is an essential step in creating your DIY 3D wall art. This process not only reflects your personal style but also establishes an inviting atmosphere that resonates with those who enter your space.
Start by considering themes that align with your interests—nature, abstract shapes, or even geometric patterns can serve as excellent foundations for your project. For inspiration, consider exploring thrift store finds that can add unique character to your designs. Once you've narrowed down your options, sketch out a few ideas to visualize how they'll fit on your wall.
Next, think about color schemes that complement your existing decor; harmonious hues can create a cohesive look while contrasting colors can add a dynamic element. If you're unsure, look for inspiration in online platforms like Pinterest or Instagram, where countless examples abound.
Additionally, consider the size of your wall; larger designs can make a bold statement, while smaller pieces might work better in a gallery-style arrangement.
Step-by-Step Instructions
Creating your DIY 3D wall art involves a straightforward series of steps that can turn your design ideas into reality. First, gather your materials, which may include cardboard, foam board, scissors, a craft knife, and adhesive.
Begin by sketching your design on paper, ensuring it fits well within your desired space. Next, transfer your outline onto the chosen material, cutting out the shapes carefully.
Once you have all your pieces, it's time to assemble them. Use layers to create depth; for instance, apply adhesive to the back of each layer, stacking them according to your design. This approach adds dimension and interest, making your artwork truly pop.
After assembling your 3D pieces, consider painting or decorating them to enhance their visual appeal. Select colors that complement your room, ensuring your art feels cohesive with your decor.
Tips for Personalization
Once you've completed the assembly of your 3D wall art, it's time to make it uniquely yours. Personalization allows you to infuse your personality and style into your creation, transforming it into a reflection of who you are. Consider the following elements to enhance your art's uniqueness:
| Element | Ideas |
|---|---|
| Color Palette | Choose colors that resonate with you or match your room's decor. |
| Textures and Materials | Experiment with different materials like fabric, wood, or metal for added depth. |
| Themes | Select a theme that reflects your interests, such as nature, geometry, or abstract designs. |
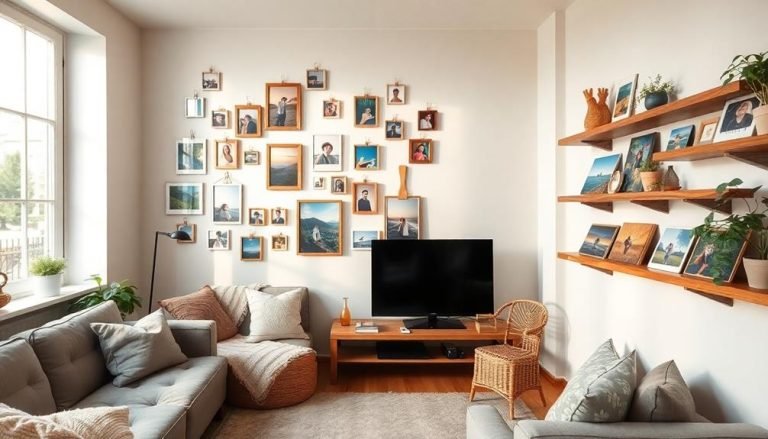
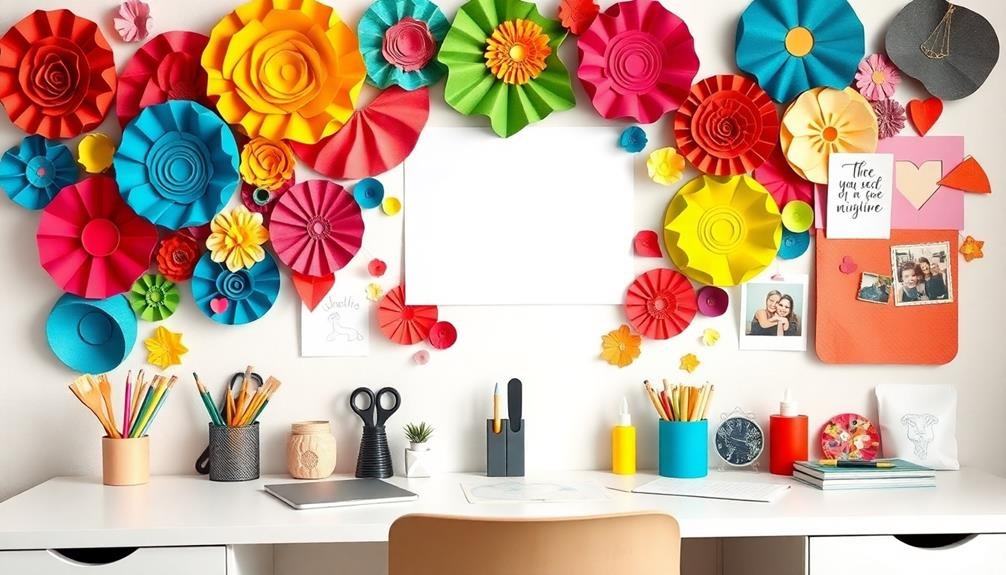
Displaying Your Artwork
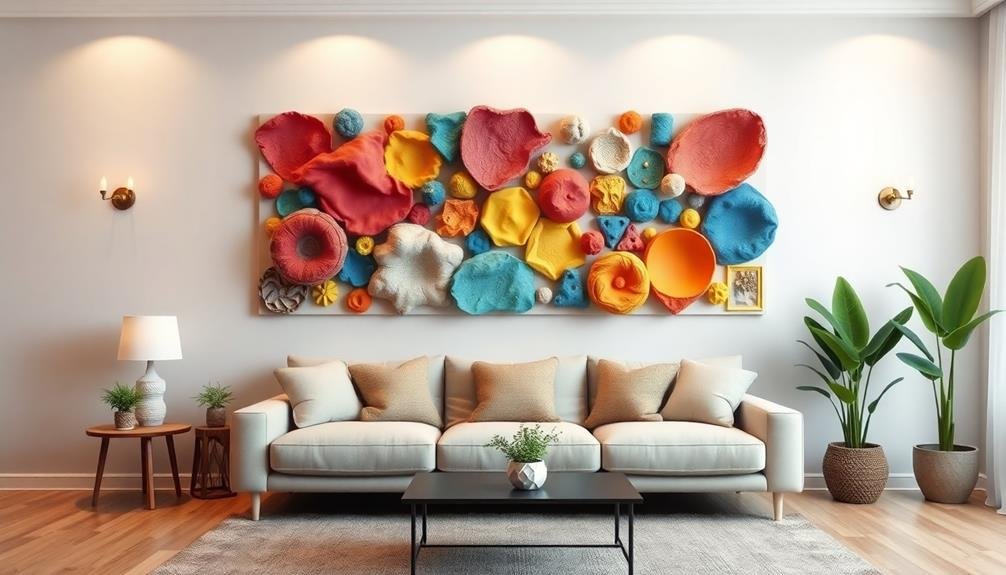
Frequently, the way you display your 3D wall art can greatly enhance its impact in your space. Thoughtful placement not only showcases your creativity but also invites connection and conversation among those who admire it.
To guarantee your artwork resonates, consider these strategies:
- Create a Gallery Wall: Combine multiple pieces to form an eclectic display that tells a story or reflects a theme. Incorporating seasonal color palettes and accents can also provide a warm and inviting backdrop for your art, making it stand out even more. seasonal color palettes
- Use Lighting: Position your art near natural light or incorporate dedicated lighting to highlight textures and dimensions, enhancing its visual appeal.
- Consider Scale and Proximity: Hang your artwork at eye level and maintain a balance between larger and smaller pieces, allowing each to stand out without overwhelming the viewer.
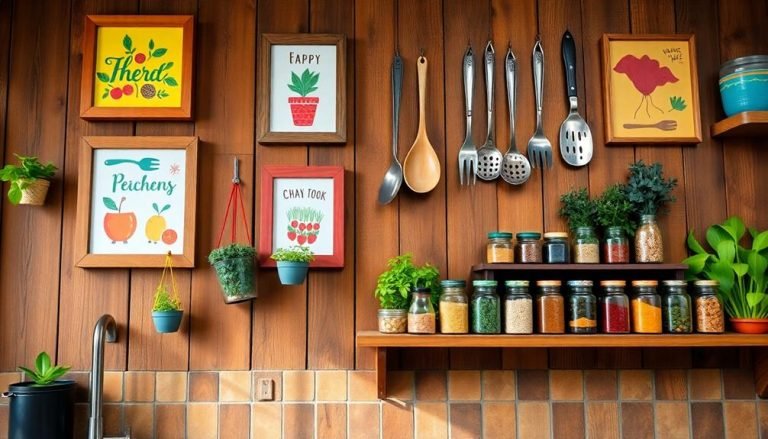
- Incorporate Surrounding Decor: Integrate your 3D art with complementary furnishings and colors, creating a cohesive aesthetic that feels inviting and harmonious.
Frequently Asked Questions
Can I Use Recycled Materials for My 3D Wall Art?
Absolutely, you can use recycled materials for your 3D wall art! It not only adds unique texture and character but also promotes sustainability. Embrace your creativity, and let your imagination guide you in this exciting project!
How Long Does It Take to Complete a 3D Wall Art Project?
It usually takes a few hours to a couple of days to complete a 3D wall art project, depending on its complexity. Just enjoy the process, and you'll create something truly special in no time!
Are There Specific Tools I Need for Cutting Materials?
You'll need a few essential tools for cutting materials, like a craft knife, scissors, and a cutting mat. These will help you create precise shapes and designs, making your project smoother and more enjoyable.
What's the Best Way to Clean My 3D Wall Art?
To clean your 3D wall art, gently dust it with a soft cloth or use a feather duster for intricate pieces. Avoid harsh cleaners; they can damage your art. Keep it looking fresh and vibrant!
Can I Incorporate Lighting Into My 3D Wall Art?
Sure, you can totally light up your 3D wall art! Imagine it glowing like a disco ball at a family reunion—everyone's dazzled. Just add LED strips or fairy lights for a cozy, artistic vibe everyone'll love.
Whats Next
In crafting your own 3D wall art, you commence a journey akin to a gardener nurturing their plants; each layer and embellishment you add contributes to the overall beauty of your creation. As you transform simple materials into a vibrant expression of your style, remember that each piece reflects a part of your imagination, much like a garden showcases its blooms. So, take pride in your handiwork, display it proudly, and let your walls tell your story.