Imagine transforming a plain wall in your living room with a striking piece of art you created yourself, all without spending a fortune. You can easily gather materials from local craft stores or even thrift shops, and the process is straightforward. By selecting a design that truly speaks to you, you'll not only personalize your space but also engage in a rewarding creative experience. So, what steps should you take to guarantee your canvas art turns out beautifully and stays within budget?
Key Elements
- Gather affordable materials like a blank canvas from thrift stores and budget-friendly acrylic paints for your project.
- Choose a simple design that reflects your personal interests and complements your display space without requiring expensive resources.
- Prepare the canvas by cleaning, applying gesso, and optionally sanding for a smooth surface, ensuring good paint adhesion.
- Experiment with different painting techniques to create unique textures and effects, making the process creative and enjoyable.
- Display your artwork using budget-friendly options like floating shelves or a gallery wall, mixing in personal items for added character.
Gather Your Materials
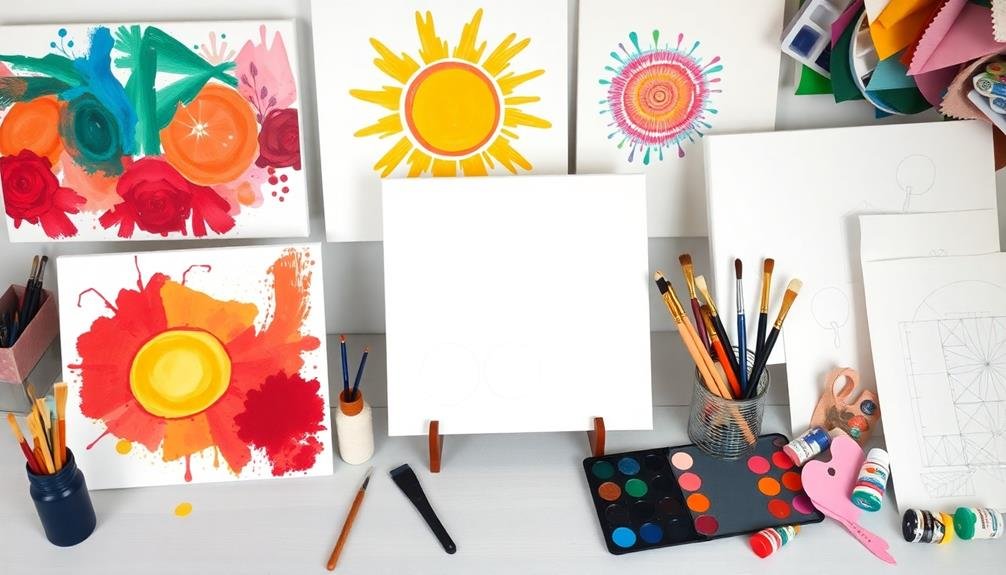
Before diving into your DIY canvas art project, you'll need to gather all the necessary materials. To create a stunning piece that reflects your personality and style, consider starting with a blank canvas, which can vary in size depending on your desired outcome; a standard 16×20 inch canvas is a versatile choice. Thrift stores can be a great place to find unique canvases or even vintage textiles to incorporate into your artwork, enhancing your creation with character and charm.
Next, stock up on acrylic paints in a range of colors, as they offer vibrant hues and quick drying times, making them ideal for layering techniques. Don't forget quality paintbrushes in different sizes, which will allow you to achieve various effects—from fine details to broad strokes.
Additionally, a palette for mixing colors, some water for rinsing brushes, and paper towels for easy cleanup are essential. If you want to add texture, consider incorporating tools like sponges or palette knives. For inspiration, you might look into DIY wall art ideas that can guide your creative process and help you visualize the final product.
Choose Your Design
Choosing your design is an essential step in creating an enchanting canvas art piece. Start by considering the space where you plan to display your artwork; this will guide your choice in color, style, and size.
Whether you prefer abstract designs, nature scenes, or geometric patterns, each choice conveys a different message and enhances the ambiance of your environment. Additionally, think about incorporating elements of DIY decor projects that allow you to personalize your creation.
You might want to draw inspiration from your personal interests or experiences, which can imbue your piece with a sense of belonging and connection. For example, if you love the ocean, a serene beach scene could evoke comforting memories, while vibrant abstract shapes might reflect your energetic personality.
Additionally, think about the color palette that resonates with you and complements your existing decor; earthy tones can create a cozy atmosphere, while bold colors might serve as eye-catching focal points.
As you brainstorm, consider sketching your ideas or creating a mood board with samples from various sources—this visual representation can help clarify your vision.
Ultimately, your design shouldn't only reflect your individuality but also invite others into your world, fostering a deeper connection with your space and those who inhabit it.
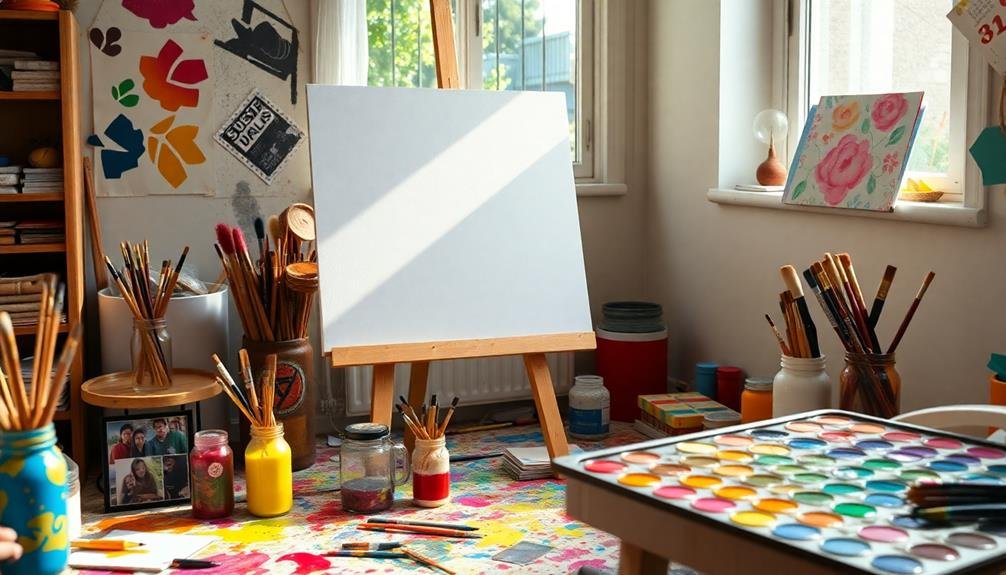
Prepare the Canvas
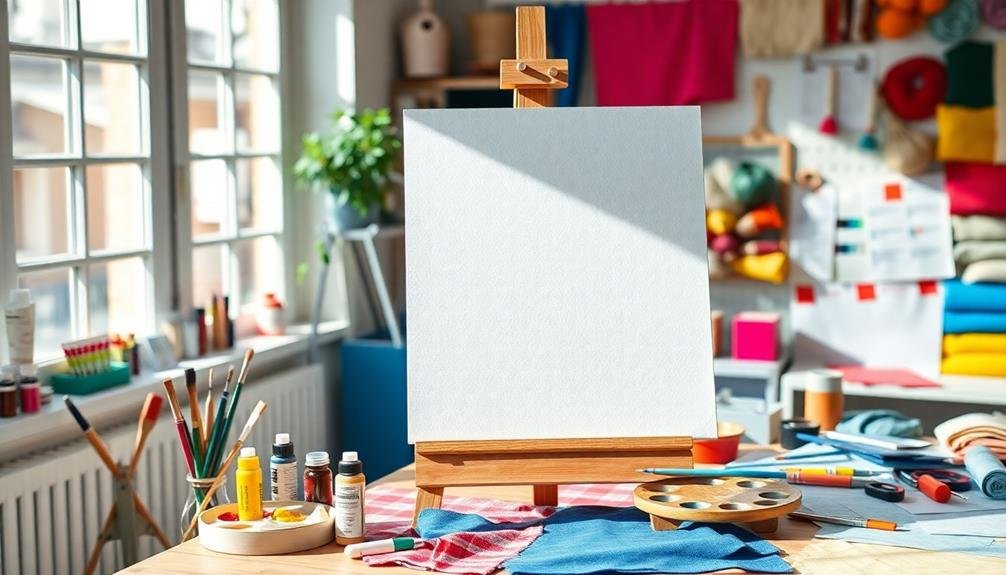
How do you prepare the canvas for your masterpiece? Proper canvas preparation is essential to guarantee your artwork stands the test of time and maintains its vibrant colors. Follow these straightforward steps to set the stage for your creativity:
- Choose the Right Canvas: Select a canvas size that complements your design. You can opt for pre-stretched canvases or create your own using canvas boards.
- Clean the Surface: Before beginning, wipe the canvas with a soft cloth to remove any dust or debris. This helps to create a smooth surface for painting.
- Apply Gesso: Use acrylic gesso to prime the canvas, which enhances paint adhesion and prevents absorption. Apply a thin layer evenly, and let it dry completely. You may need two coats for ideal results.
- Sand (Optional): For a smoother finish, lightly sand the canvas after the gesso dries. This step isn't mandatory, but it can provide a refined texture, enhancing the overall look of your artwork.
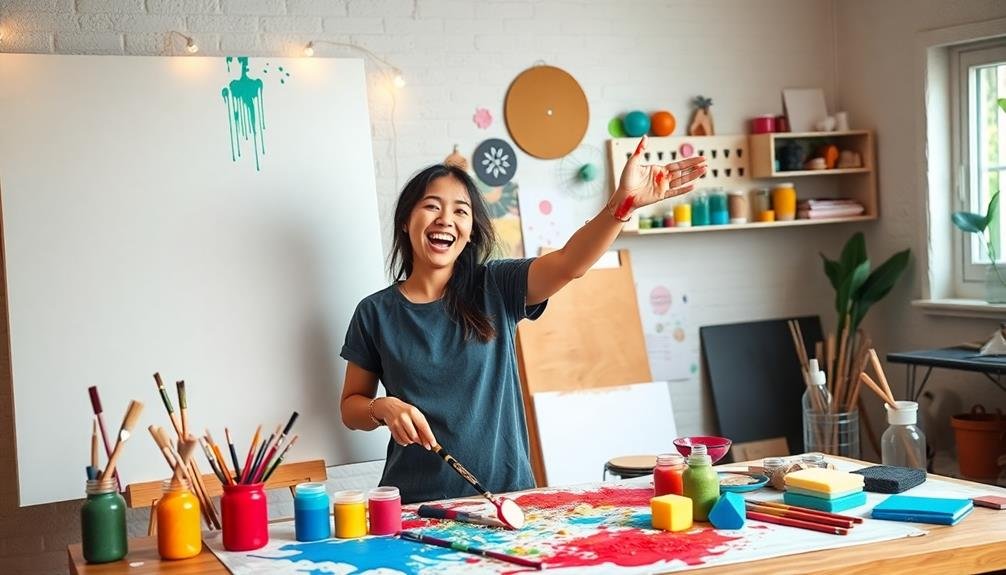
Create Your Artwork
Now that your canvas is ready, it's time to release your creativity and bring your vision to life. Choose your color palette, considering how different hues can evoke feelings and set the mood. Don't hesitate to experiment with various techniques, such as layering, splattering, or even stenciling, to achieve unique textures and effects.
You might find it helpful to organize your ideas and materials. Use the table below to plan your artwork:
| Element | Description |
|---|---|
| Color Palette | Select 3-5 colors that complement each other. |
| Technique | Decide on methods like brush strokes or sponging. |
| Theme | Choose a central theme, like nature or abstract. |
| Size & Layout | Determine the dimensions and arrangement of elements. |
| Inspiration | Collect images or objects that inspire your art. |
As you create, remember that this is your personal expression, so embrace the process and allow your intuition to guide you. Whether you're painting a serene landscape or an abstract design, focus on what resonates with you. Your artwork will not only beautify your space but also foster a sense of belonging in your creative journey.
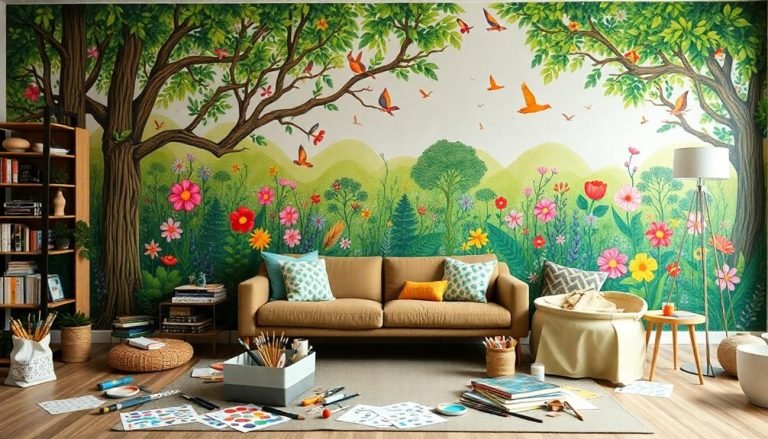
Display Your Masterpiece
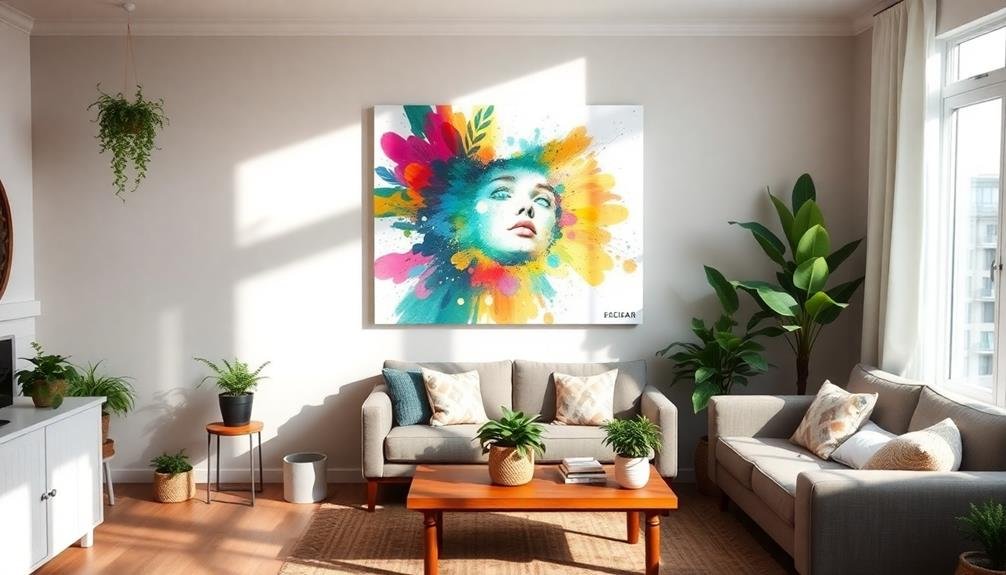
Once your artwork is complete, showcasing it effectively can enhance its impact and bring joy to your space.
Displaying your masterpiece not only adds a personal touch to your environment but also invites connection and conversation among friends and family.
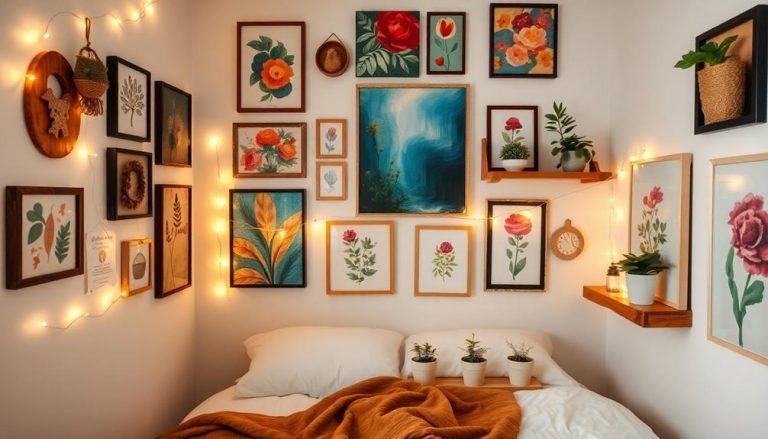
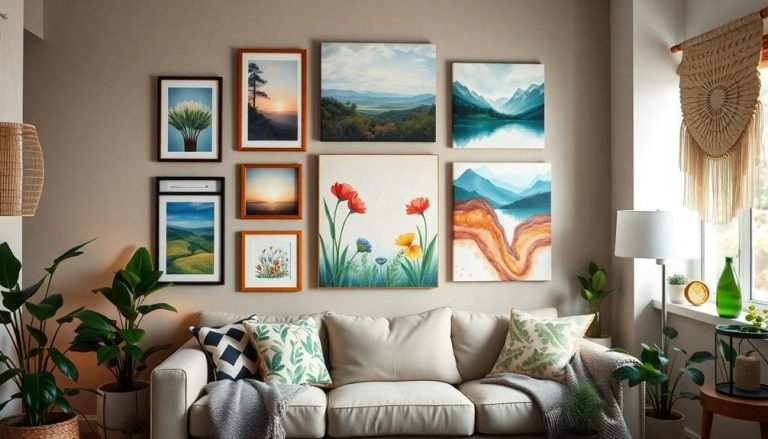
Here are four ways to present your canvas art that will inspire warmth and belonging:
- Create a Gallery Wall: Combine multiple pieces of art, including your DIY canvas, to form a cohesive gallery wall. Vary frame styles and sizes for an eclectic yet harmonious look.
- Use Floating Shelves: Install floating shelves to display your art alongside decorative items. This allows for easy rotation of pieces and creates a dynamic visual interest.
- Incorporate Lighting: Use picture lights or spotlights to illuminate your artwork. Proper lighting highlights the details and colors, enhancing the viewing experience.
- Mix with Personal Items: Surround your canvas with photographs or mementos that resonate with you. This not only personalizes the space but also creates a narrative that reflects your life and experiences.
Frequently Asked Questions
What Types of Paint Are Best for Canvas Art?
When choosing paint for canvas art, acrylics are your best bet. They're versatile, dry quickly, and blend easily. If you want a more textured look, consider oil paints for their rich colors and smooth application.
Can I Use Recycled Materials for My Canvas Art?
Absolutely, you can use recycled materials for your canvas art! In fact, 78% of artists incorporate found objects, making your creations unique and eco-friendly. It's a great way to express your creativity while being sustainable.
How Long Does It Take for the Paint to Dry?
The paint usually dries within one to four hours, depending on the type and thickness. You'll want to check it periodically to guarantee it's ready for your next creative touch. Happy painting!
What Tools Can Help Me Create Precise Designs?
Did you know that 75% of people find joy in creating art? To achieve precise designs, you'll love using tools like stencils, rulers, and masking tape. They'll make your artwork look polished and professional!
How Do I Clean My Brushes After Painting?
After painting, rinse your brushes under warm water, removing excess paint. Then, use mild soap and gently work it into the bristles. Rinse thoroughly, reshape them, and let them air dry. You'll keep them in great condition!
Whats Next
To summarize, crafting budget-friendly DIY canvas art not only empowers you to express your individuality, but it also transforms the mundane into the extraordinary, juxtaposing affordability with creativity. By meticulously selecting your materials and design, you elevate a simple canvas into a striking visual statement. As you prepare and execute your artwork, remember that the process is as rewarding as the final piece. Ultimately, your masterpiece becomes a reflection of your unique style, gracing your home with personal significance.